Showing posts with label amy howard. Show all posts

Thursday, October 30, 2014

Get in Gear

I've officially run out of my current color OBSESSION
(Tick Tock from Amy Howard at Home)

so I cracked open another recently released color that is also 
GORGEOUS!

GET IN GEAR...


We primed this solid wood cabinet in white before applying Get in Gear
then distressed with a medium grit sanding sponge
to reveal both the white and the dark stained wood
(I've found if you distress One Step Paint right after it's dry, it distressed fairly easily)


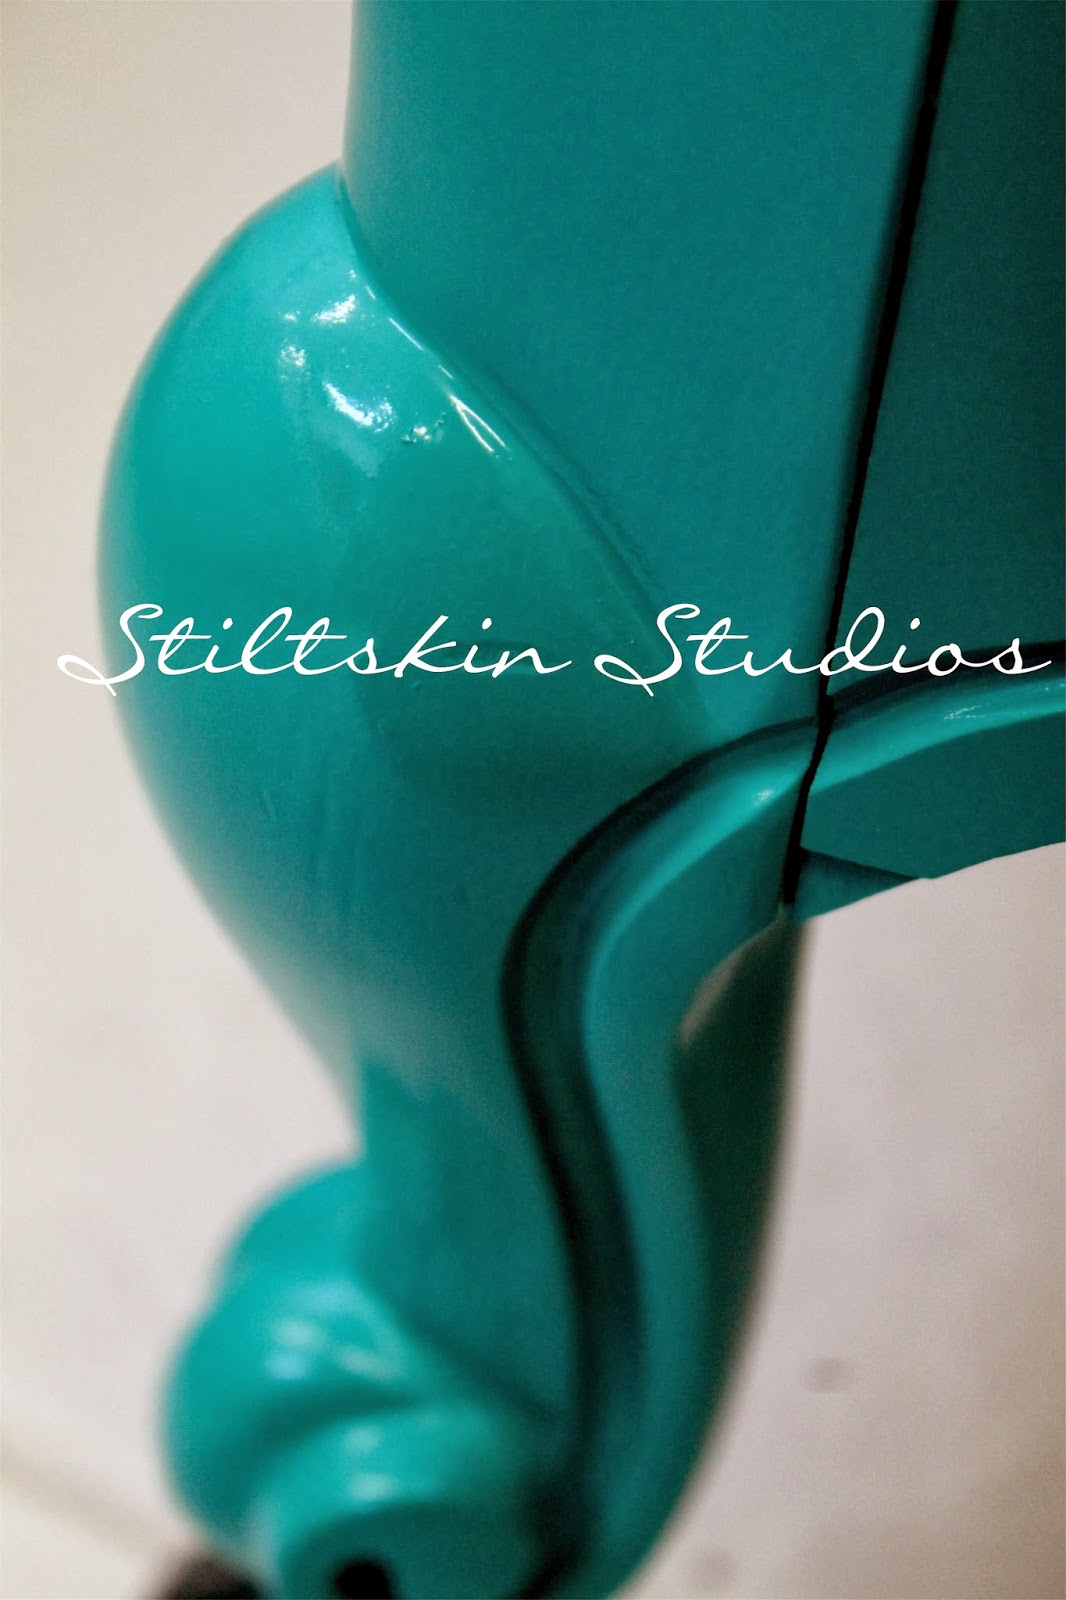
The color is rich, vibrant, and saturated...
I love how the Mercury Glass hardware  glistens against the blue-green shade


I opted to keep the interior very simple
in fresh, clean white
(the doors had decorative wood inserts, but I loved the more modern look
of the plain glass doors)


This is a wonderful statement piece, don't you think?
I imagine this piece in a neutral dining room
(perhaps mostly white?)
with some natural wood elements

Haven't tried Get in Gear yet?
Go for it! 

M~

Monday, October 13, 2014

Whitewashed Grey Dresser

I was down with Strep Throat for almost TWO WEEKS...
I'm not sure what was worse...the Strep or not painting!
(OK, Strep was the hands down worst of the two...)

I was incredibly eager to get back to work

This dresser had been awaiting paint for several weeks
and I'm quite pleased with the outcome


The wood was pretty enough, but sort of orange and quite dated
I debated on going very fancy with colored panels and gold leaf details
but I've been craving softness and gentle distressing lately


For this soft, romantic finish I mixed 
AHaH's Luxe Grey One Step Paint (OSP)
 with Black OSP
(3/1 ratio)
Then I glazed the paint using White Glaze from General Finishes
The white slightly lightened the grey, 
settling into the recesses and brush strokes

You could use a glaze, like I did, or a white wax,
 or even a watered down white wash
all would give you a similar look
I like to use what I have on hand, and I had glaze


I lightly distressed the edges while the glaze was still a bit damp
then sealed the entire piece with clear wax once dry

The hardware was painted Ballet White OSP
then waxed and finished with Dust of Ages for a lovely patina

Wouldn't this piece make a wonderful bathroom vanity?  

Available at 607 Vintage MarketPlace

Thanks for stopping by!

Michele

Tuesday, August 19, 2014

Quick Tour...

Stopped by 607 Vintage MarketPlace today
to drop off a few items
(and to see what goodies everyone else brought in!)

Thursday is THE DAY...!
(unless, of course, Largo doesn't cooperate!)

I thought I'd share a few more preview photos...


 Used Modern Masters on this charming little coffee table


LOVE doing these mirrors...
Lacquer on the frame, Antique Mirror Solution to distress the glass...
the mix of glossy, shiny, and distressed/aged is perfect, don't you think?


The detail on the mirrors is just stunning...but hard to capture in a photo!

  Pretty, shiny things...


 lots and lots of pretty, shiny things!

Friday, March 28, 2014

Oooh....shiny!

GOODNESS GRACIOUS!

What a WHIRLWIND life has been around here!

I know you're itchin' for more details and photos from around the plantation,
and we PROMISE they will be coming soon

For now, though, I believe I owe you a little tutorial, right?

Want to make things sparkle and shine? 
How about a little gold or silver leaf...

 (actually comes in sheets...this is my pile of debris...but it is still SO pretty!)

Step one is to paint your piece (if desired) with the paint of your choosing and allow to dry
(I used Amy Howard at Home One Step in Palmer Pink)


Next up is applying Bole (pronounced like bull)
Historically, Bole was clay-based, and used to make the leaf really "POP"...
the color of Bole is dependent upon the type of leaf (silver, gold, etc) and the desired effect
(I did a project with Bole and a project without...both are lovely)

Keep in mind that some of your Bole color will inevitably show through the holidays 
(areas where there is no leaf), and the brownish red under gold is very authentic

 The Bole will look like the ugliest paint color ever...but fear not!

 it gets LOADS better, I promise!

 Once the Bole is dry, you'll want to apply Size
Size is what makes the leaf stick
so you'll want to be aware of your coverage

Sparse coverage will give you a sort of mottled effect
while more thorough coverage leads to more complete coverage with the leaf

When the Size is tacky 
(use your ring finger to test...does it resist and stick a bit?  Perfect!)
you can begin to apply the leaf

The leaf is sold in sheets, and for this project,
 I cut a portion down to size by cutting the entire book in half
(photo above shows the already-cut sheets)
I used these more narrow sheets for the smaller trim work,
 and used the full size sheets for the legs

You'll want to apply the leaf sheet directly onto the Size, 
and avoid touching it too much with your fingers

See the orange tissue sheets that separate the leaf in the photo above?
If you keep your leaf attached to the book,
you can use that tissue to burnish over the leaf with your finger

Once you place your leaf, burnish, and remove the tissue
you will want to smooth over the leaf with a fairly firm brush

 See the areas where the reddish Bole is peeking through the gold leaf?
Those are the holidays

After you're satisfied with the leaf application, you're ready to seal the finish with wax
Can I tell you how HAPPY this makes me? 
 Wax does NOT remove the leaf...
if you've used Liquid Leaf and some other gilding pastes, 
you'll know exactly what I mean


 Ta-Da~!
So fancy :0)  

On a completely unrelated note...
I had this genius idea to plant miniature rose bushes in my old paint cans...
I say "genius" in jest...because I kill plants
Also, by "plant" I mean I ripped them from their little containers and crammed them,
dirt and all, into the paint cans

By some miracle, they did NOT die...
(well, at least SOME didn't die!)
and the little rosebuds are shades of pale pink and magenta...amazing

Be BRAVE and try silver or gold leaf...it's messy, its fun, and it's GORGEOUS!

M~

Thursday, January 30, 2014

Toscana Powder Paint

It's no secret that we LOVE to get our hands dirty
with new products...
particularly when the products AMAZE US

We've been consistently thrilled and impressed by 
Amy Howard Home's product lines
(and the bar was set PRETTY high...we don't impress easily!)

One Step wowed us
then, the Lacquer Sprays...
so of course, we could NOT wait
to get our hands on Amy's Casein (milk) Paint...Toscana!


Amy's artisans create INCREDIBLE finishes using this paint, along with some ancillary products

(photo courtesy of Amy Howard Home)

We figured we'd break you in gently...
and show you a project using JUST the Toscana paint
(we'll be offering classes on how to use all the Toscana products in March!)

Toscana is quite simple to use...if you've used any milk paint before, this is much the same
you mix with water 
(we LOVE that the container has enough room to add water, seal, and shake to mix!)
We prefer our paint a bit on the thick side, so we start with a 3/1 ration of paint to water
adjusting as needed

The piece we selected was solid wood, and we did NOTHING to the existing finish
(old stain and some sort of clear lacquer)
The biggest obstacle to success with milk paint is in selecting the proper piece...
this is NOT the paint we'd select for shiny finishes, laminate, etc

So anyway, we mixed it up, and applied in a very haphazard, sloppy manner
sort of squishing it in here and there instead of brushing it smooth


The finish you see took three coats
We love the variations of texture and color!


For even more patina, we used Amy's Antique Glaze
which is very thin and light
(translation: EASY and FORGIVING)
It really brought so much depth to the finish 
without dramatically altering the lovely, soft shade

Once dry, we sealed with our favorite Carnauba wax

Toscana is available in a lovely selection of colors and retails for $20/8oz


We are SO terribly excited to be travelling to Memphis, TN in a few weeks
to meet Amy Howard and the rest of her team

A bit about Amy Howard, in case you didn't already know!
Her company, Amy Howard Home, has been around for almost a quarter of a century
(they are most definitely NOT new to this!)

The paints we retail, and the finishes you can achieve with them,
are the very same that have been used on Amy's gorgeous reproduction pieces

For some inspiration, visit 
and of course Amy Howard at Home

Thanks for stopping by, and happy painting! 

Kenny and Michele

Thursday, December 12, 2013

Hollywood Regency Glamour

We have had this dresser set listed as a custom for a few weeks...
it was living dangerously!

Since we are head over heels in LOVE with One Step Paint in Black,
we jumped right in with these pieces

Here is the before
(this before makes it look WAY better than reality!)


While cleaning this dresser and removing the drawers,
we discovered it was made in Sweden...a first for us!

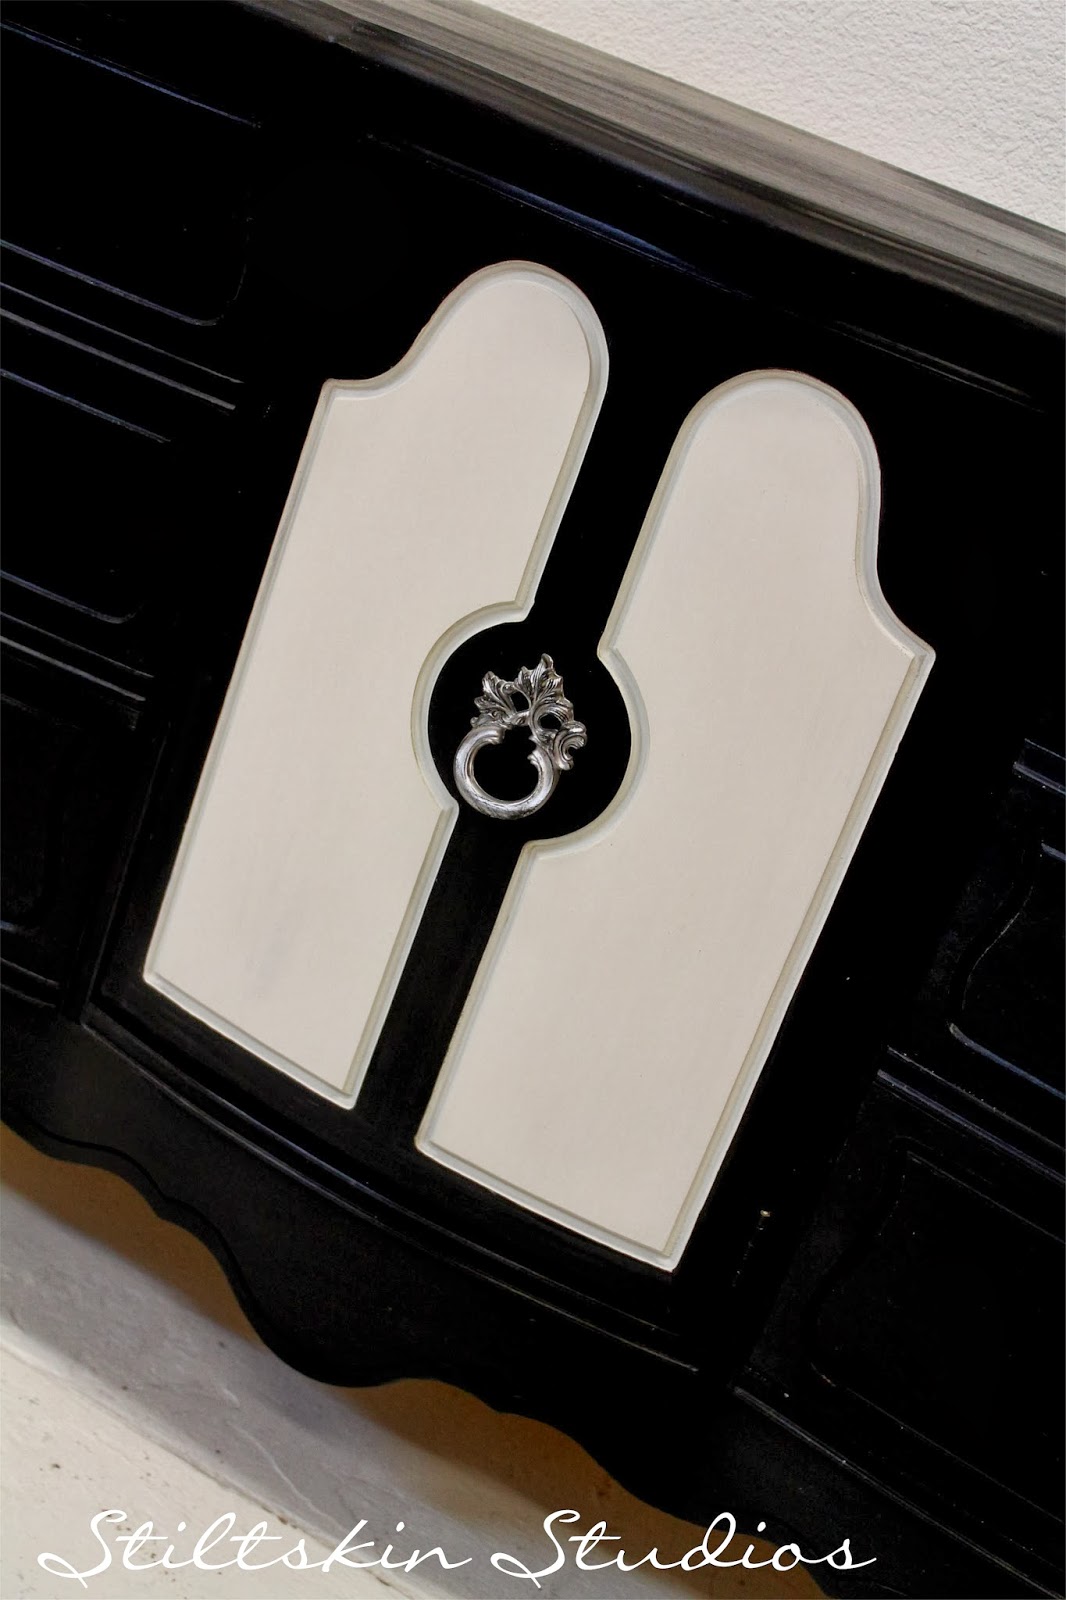
The entire body was covered in Black One Step Paint
with only the center panels contrasting in white

 (mirror obviously isn't shown...it's black and it's gorgeous!)


The hardware features silver leaf with a touch of black


Behind the door, three lingerie drawers are clean and simple

(the areas that look mottled are really shiny from the wax...hard to capture on camera)


On top, we wanted a "little something"
that would add to the graphic impact
without being too fussy


The nightstand we opted to keep very simple and classic


We're really pleased with how this set turned out...
Simple and classic, yet it has great impact

If you haven't tried One Step Paint from Amy Howard Home yet,
what are you waiting for?  
Go for it! 

Kenny and Michele

Wednesday, December 4, 2013

Seaside Lacquer

In typical fashion, I did NOT get a decent "before" photo!

You can pretty much imagine where this piece started, right?

It's come quite a long way, baby!


 and of course, the fabulous hardware!

This is a new product for us, and we're smitten!

It is called High Performance Lacquer Spray
and it retails for $18/can

The color is Seaside, but it's available in a virtual rainbow of hues


We've tackled smaller projects with this product
but we were hesitant to do a large piece

Typically, spray paint isn't well suited for large, flat areas
(like the sides and top of this dresser)

We also worried it would take 6 or 7 cans to finish it...

So here is the run-down:

We cleaned this piece with Simple Green to remove any residue

We gently sanded the surface and wiped clean
(literally, we're talking a ten minute sanding job...nothing major!)

The trick to spray paint is to keep your flow level and even
overlapping a bit as you go

Make one pass, then STOP spraying
Begin spraying again and repeat the process

Dry time was super fast
(we are used to 24hrs between coats...this was more like 24 minutes!)

As you can see, the coverage is wonderful

We did three coats on this dresser
and used three cans of Seaside Lacquer

We hope we've inspired you to try something new!
We're sure glad we did...

Kenny and Michele