Showing posts with label Annie Sloan Chalk Paint. Show all posts

Thursday, January 17, 2013

Crave-worthy Color

I feel like we haven't painted in ages...

so we were quite pleased to be able to steal away a few evenings
and work on some fun new pieces...

Here is a little sneak preview...


the blue on this piece, Cobalt from Real Milk Paint Co
makes me so very happy...it's almost electric, it's so vibrant
just my speed!

Are seriously, how much do you LOVE all that chipping, 
cracking, and leathery texture?
It's divine

Kenny fought me so hard about using this color on this piece...
but clearly he caved in and has been working on it for nearly two weeks

Now that it's about done, he LOVES it....
like, he wants to keep it

Of course, we are not keeping it...but it's completely amazing
 and I can't wait to share it with you!

I chose a smaller project, 
because it's hard for me to get a lot of creative time lately
My "day job" has been keeping me pretty busy


Not sure if you can tell from my photo, but I mixed up the most gorgeous coral!
The robin's egg blue interior is another custom blend,
and I'm surprised by how much I love the two together...
of course, all that gilding doesn't hurt AT ALL!

Watch for these pieces soon in our Etsy shop!

As always, thanks for dropping by 

Michele~

Monday, December 10, 2012

Red Velvet Make-Over

Remember this dresser?

 Sad, sad, sad...


Someone had tried to spray paint her red...
it didn't work out so well!

Well have a look at her now!


We repainted her in Annie Sloan's Emp Silk Chalk Paint
with lots and lots of dark wax to make the red rich and dramatic


see that gorgeous gilding along the raised trim?
Yeah...that was NOT fun to do...
but it really makes the dresser, don't you think?

 We had to use clear wax on the white areas,
 but not on the gold or red areas...
that was also not the most fun thing ever!
But so worth it

We gilded the bottom edge and the shell detail on the legs,
but it started raining on us, so no pics today!

Even the hardware got a make-over!

It's hard to believe it's the same dresser, isn't it?

We're finishing up a mirror to accent this gorgeous dresser...
but all the moisture in the air today kept the paint from drying...
watch for that tomorrow!

It's tomorrow, and I finished the mirror!


I can see this piece in so many settings, from elegant to boho chic...
Where would YOU use this piece?

Monday, October 22, 2012

Task Master

I didn't get to paint AT ALL last week...
so today, I made up for lost time!

Kenny's been knee deep in a custom order
with a dresser that basically needed rebuilt
from the inside out, 
so I've been in charge of all new goodies...
hard to do when you aren't available to paint!

I planned on painting a desk
but it needed some work...
"find something else to do for a few hours"
was Kenny's reply...
"it will take that long for the glue to dry"
so he went to work fixing the desk for me,
and I went to work perusing our warehouse
for projects I could complete in one day
(no dining sets or armoires today!)

Project #1

 As you can tell, I REALLY LOVE

 I also really love Craqueleur


Project #2 was the mirror...sorry, no close-ups!

Project #3


I used the same custom-mixed chalk paint color 
on this table, 
but no dark wax...
I really love the silver against the Sable Grey!

Hoping to get a new dresser posted by the weekend...
fingers crossed!

Sunday, September 16, 2012

No Shy Violets Here!

Well...
this dresser...
it doesn't have a ton of fancy carvings
or too many frills...
but that is why I love it so

The subtle beauty of it
the long, tapered legs
the slight serpentine body
the elegant hardware

The fact that it's Hendredon
really pushes me over the edge!


I debated on doing a more subtle color
but really, why? 
The simple elegance of this piece was just 
BEGGING for something different

I perused Pinterest for color inspiration...
I knew I wanted a sophisticated purple
Very smokey and sexy and grown-up
if you're interested, here is the Pinboard

For the record, my husband and partner, Kenny,
was NOT on board with this color
When I said "Purple"
he envisioned deep, regal purple
with gold hardware
Me? Not so much!


I mixed up this custom color using Annie Sloan Chalk Paint
then applied a glaze over the top using glaze base and pigment 

The top, well, it gave me some trouble!
My plan was to strip it  and re-stain it in that lovely
weathered wood look my friend at Stellar Junk does so well

I mixed up my staining concoction
and started stripping the table

All was good until towards the back,
 a HUGE burn mark materialized!!
NOOOOO!!!

I considered stenciling over it, making the top striped...
just wasn't working out at all...
so bummed!

Not to be discouraged, I mixed up a custom grey
then topped it with the smoke glaze

Perfect!

Such an elegant, sexy piece of furniture!
I've decorated the entire room this belongs in...

Velvets and silks, some crumpled linen perhaps
a chandelier, dripping in crystals
(check out the lavender one on my board!)
dark walls and a soft rug

plush, lush, and dreamy...

Available in our Etsy Shop

Monday, July 30, 2012

Musings....

I did a hard thing
over the last two weeks

I stopped conversing 
with people that bring nothing but
drama and frustration
into my life
 
Can I just tell you,
it's been WONDERFUL!


Building a small business is hard work
(as many of you know!)
and we need to give and receive
all the support and encouragement
we can 

I've learned there will always be
those people...
the ones that pretend they are happy for you
pretend they are impressed by you
but once your back is turned
the truth emerges
(doesn't it always?)


The hard part, sometimes,
is figuring out who REALLY is on your side,
who is on your side as long as it benefits them in some manner,
and who is not on your side at all

Once you've figured that out,
I encourage you to just 
STOP
STOP allowing these people to cause doubt
STOP allowing them to shake your resolve
STOP allowing them to rent space inside your head
 
~wish them well, and send them on their way~

because once you STOP
they become powerless
and you, my friend
become 
UNSTOPPABLE!


Tuesday, July 17, 2012

Waxing Poetic


You know that moment? 


The one right after you admire your fine paint job…and right before you pick up your wax brush?
Do you get a knot in your stomach because you’re afraid of the Wax?
Using Clear and Dark wax needn’t cause you anxiety, but there is definitely a bit of a learning curve!
Pull out an old board to paint and wax, and follow along…

First, the basics:


 Annie Sloan Paint and wax are meant for one another.

Trust me on this.

I’ve tried other waxes over painted furniture, and it never ends well.
OK, so maybe it doesn’t end in the horrific demise of the piece being waxed, but it certainly never looks as rich and lustrous
as when I use Annie Sloan Wax. 


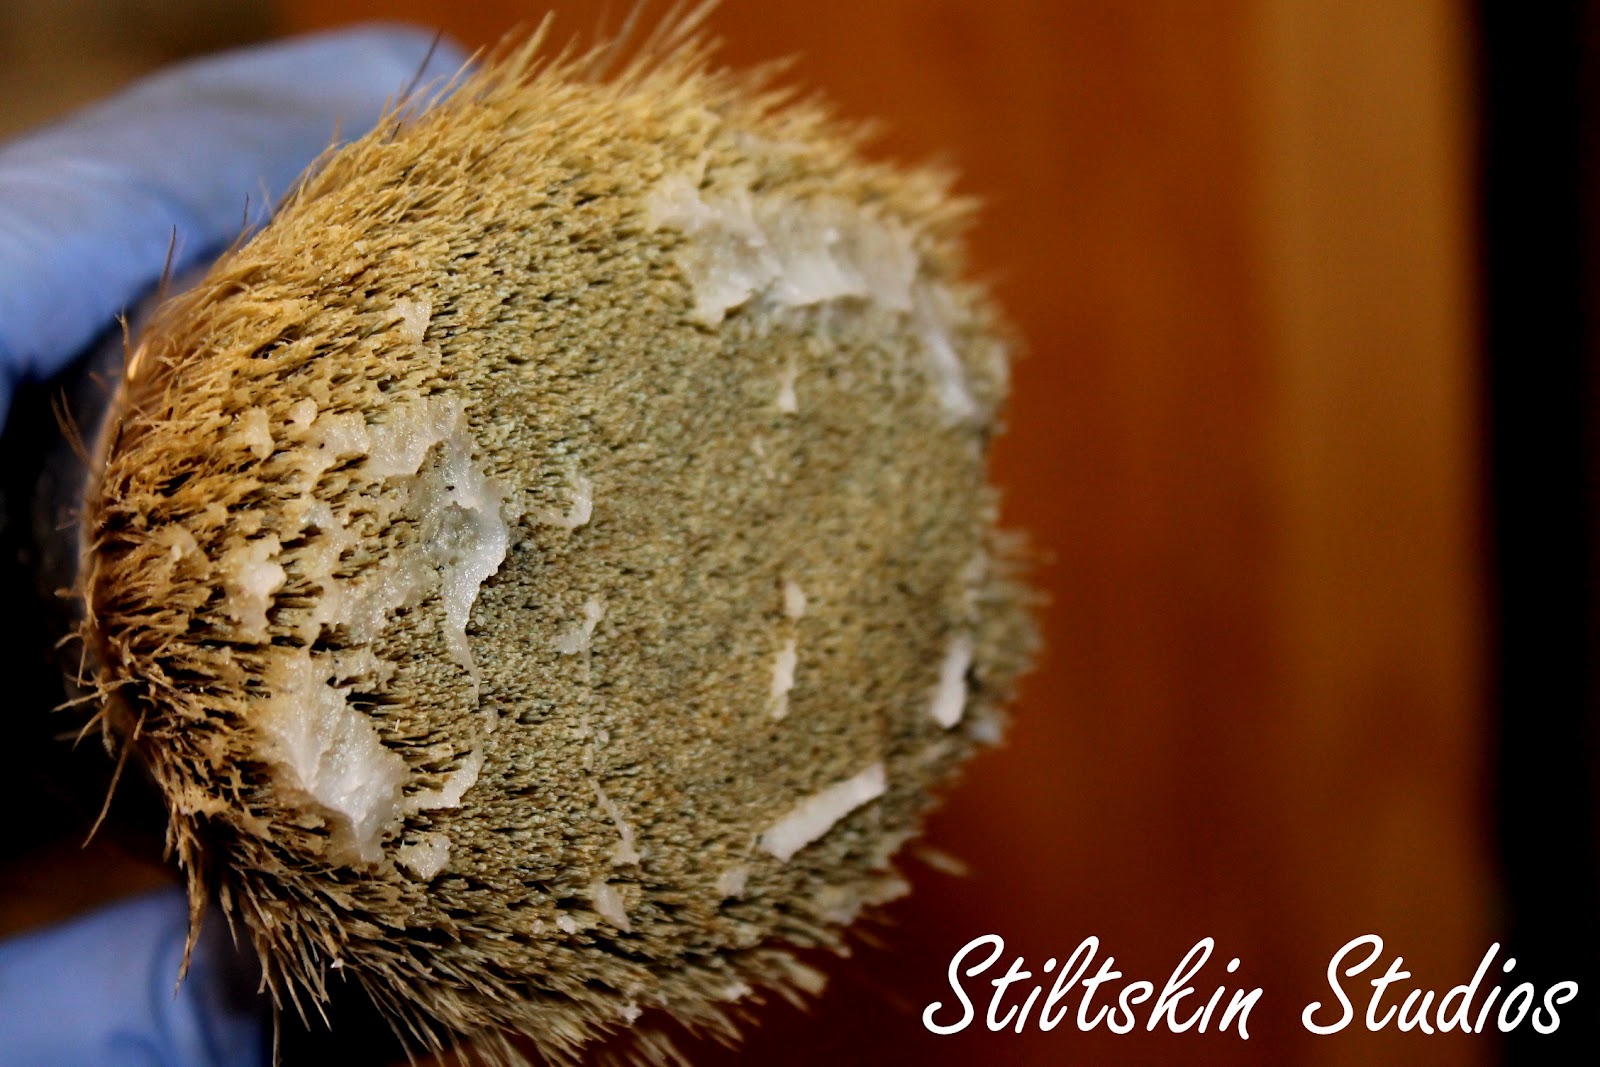
This is about how much Wax I use each time I dip in to the tin…
there is no need to cover each bristle…

I like to really swirl it around in a haphazard fashion…
really working it in as I go
 This photo (above) shows Pure White with one coat of Clear Wax


Clear and Dark wax are meant to be used in conjunction with one another
Apply Clear Wax first,
 remove excess with an old T Shirt or soft cloth
and follow with Dark Wax
Remember to work in manageable sections…one drawer at a time, etc.
If you cover the entire piece, by the time you finish, 
the area you started on will have already started to “cure”.
The longer the wax sits, the harder it is to remove the excess.
Make it easy on yourself! 

 This is how my Dark Wax looks before I wipe off the excess…
it’s a thin layer, but you can see I’ve really worked it in to the paint


 The photo above shows one coat of Dark Wax applied
over one coat of Clear Wax
 (see, nothing to be afraid of! It’s lovely!)


 This photo illustrates the outcome if you simply skip ahead to Dark Wax…
and once you’ve done this, there is no going back (aside from repainting…)

 Sometimes, I like to skip ahead…Dark Wax looks fantastic all by itself over darker shades such as Emperors Silk, Graphite, and Olive, to name a few. 

If you think you’d like to try using just Dark Wax, I strongly encourage you to try it out on a sample first!

The beauty of applying the Clear Wax first is that if you get a little too aggressive with the Dark Wax, 
or just don’t want so much Dark Wax on your item,
you can apply a bit more Clear Wax
 and buff away much of the Dark Wax.
 A little Clear Wax will go a long way…
if you apply a boatload (technical term!) of Clear Wax,
 you’ll probably remove all your Dark Wax 
and end up spending your time trying to remove
your over-zealous Clear Wax application…
lots of buffing! 

That’s it, really…the basics. 


1.       Apply Clear Wax-use enough to work the wax into the paint, but not so much that it’s gloppy and thick. Wipe away the excess. Now walk away. You heard me. Walk away, get a drink, check your email…let the wax “cure” for a bit. Overnight is lovely, but if you are like me, that’s not going to happen. I wait at least 30 minutes.

2.       Apply Dark Wax-again, use enough to cover, but not so much it’s difficult to remove; a thin coat is plenty. You can always add more dark wax to certain areas if you so choose.  Wipe off excess. Don’t buff, just wipe. This should not entail a vigorous workout. If it does, you’ve probably been a bit heavy handed with the wax. Walk away again.  Come back later…like, tomorrow. 

3.       Buff the surface, if you desire. Annie recommends using cheese cloth for this, but a soft cloth or old towel works well, too.  You should be able to buff the surface fairly easily. If it’s still really tacky and sticky and you’re having a hard time, use less wax next time.  You might have to put a little muscle into it to get the shine you desire, but you probably won’t break a sweat. 

If dark wax still scares you, you can mix your Dark Wax with a bit of Clear Wax to lighten it.

 I prefer to work with a Wax Glaze.
A Wax Glaze, you ask? Yep. So easy. 

 You’ll need Dark Wax and some mineral spirits
(you can buy this at any hardware or paint store)
I like to use a variety of brushes when working with Wax Glaze


I save my old Wax tins for mixing Glazes and Colored Waxes
 ( Just add a bit of the color of your choosing to Clear Wax and like magic, you have Colored Wax. I love Graphite the most.)
Some prefer a 50/50 mix of Wax to spirits but I prefer mine a bit thicker, so my ratio is more like 75/25


On the left, Dark Wax, on the right, Glaze. 
You can see the Glaze is thinner, but not super runny


The Glaze, due to its thinner consistency, really grabs onto my brush, 
but that’s OK since it’s very easy to remove

Glaze is applied in the same fashion as Dark Wax.
 You can apply it over Clear Wax or on its own
It does tend to “cure” faster and can still be buffed to a lovely sheen
Here’s my photo step-by-step using Dark Wax Glaze over Clear Wax

 One coat of Provence

 One coat of Scandinavian Pink

 Clear Wax, prior to removing excess…
notice no huge globs but all areas are covered
 (and yes, I distress prior to waxing…my personal (messy) preference)

 After applying Glaze

 After wiping back the excess. 
You can see there is still too much Glaze, 
but a rag just isn’t going to do the trick in those nooks and crannies…
enter the $1 2” chip brush!

 It’s cheap and gets the job done! 
Used dry and (relatively) clean,
 it works most of the Glaze out of the depressions,
 making it much easier to wipe back
 (just don’t try painting with these…they are terrible!)

 That’s better! Here is the finished product. You can see the Glaze,
used over the Clear Wax, 
adds just a bit of definition and depth. 

When you want a softer look (or if Dark Wax scares the bejeezus out of you), 
Glaze is a great option! 

I will note, I used to despise working with Wax…Dark in particular.

 My first project with Annie Sloan Paint was done in Old White.
 I didn’t know about using Clear Wax, so I just lobbed the Dark on.

I used WAY too much (I was used to working with Glazes)
and did the entire piece before I started wiping back.

 By the time I was done, my arms were numb from buffing,
and I called the piece “CafĂ© Au Lait”…
that should tell you what color I ended up with…
it sure wasn’t Old White!  

I’ve learned much since that first experience.
I read Annie’s books Creating the French Look 
and Quick and Easy Paint Transformations 
and then I painted and waxed.
A lot. 

It took practice and patience,
but I firmly believe NOTHING looks as gorgeous on a piece of furniture. 

Now go forth and WAX!