Showing posts with label how to paint furniture. Show all posts

Tuesday, October 21, 2014

a Buffet and a Box

I've been chasing down a buffet to paint for a few months now...
as usual, one turned up right down the street
(the best stuff always turns up close to home!)


Great bones, GORGEOUS wood on the drawers ad doors...
The top?  Not so much.

I used AHaH One Step Paint in Luxe Grey
with clear wax and Dust of Ages
Not a bit of distressing, yet it still looks wonderfully aged
Dust of Ages adds SO MUCH character and patina


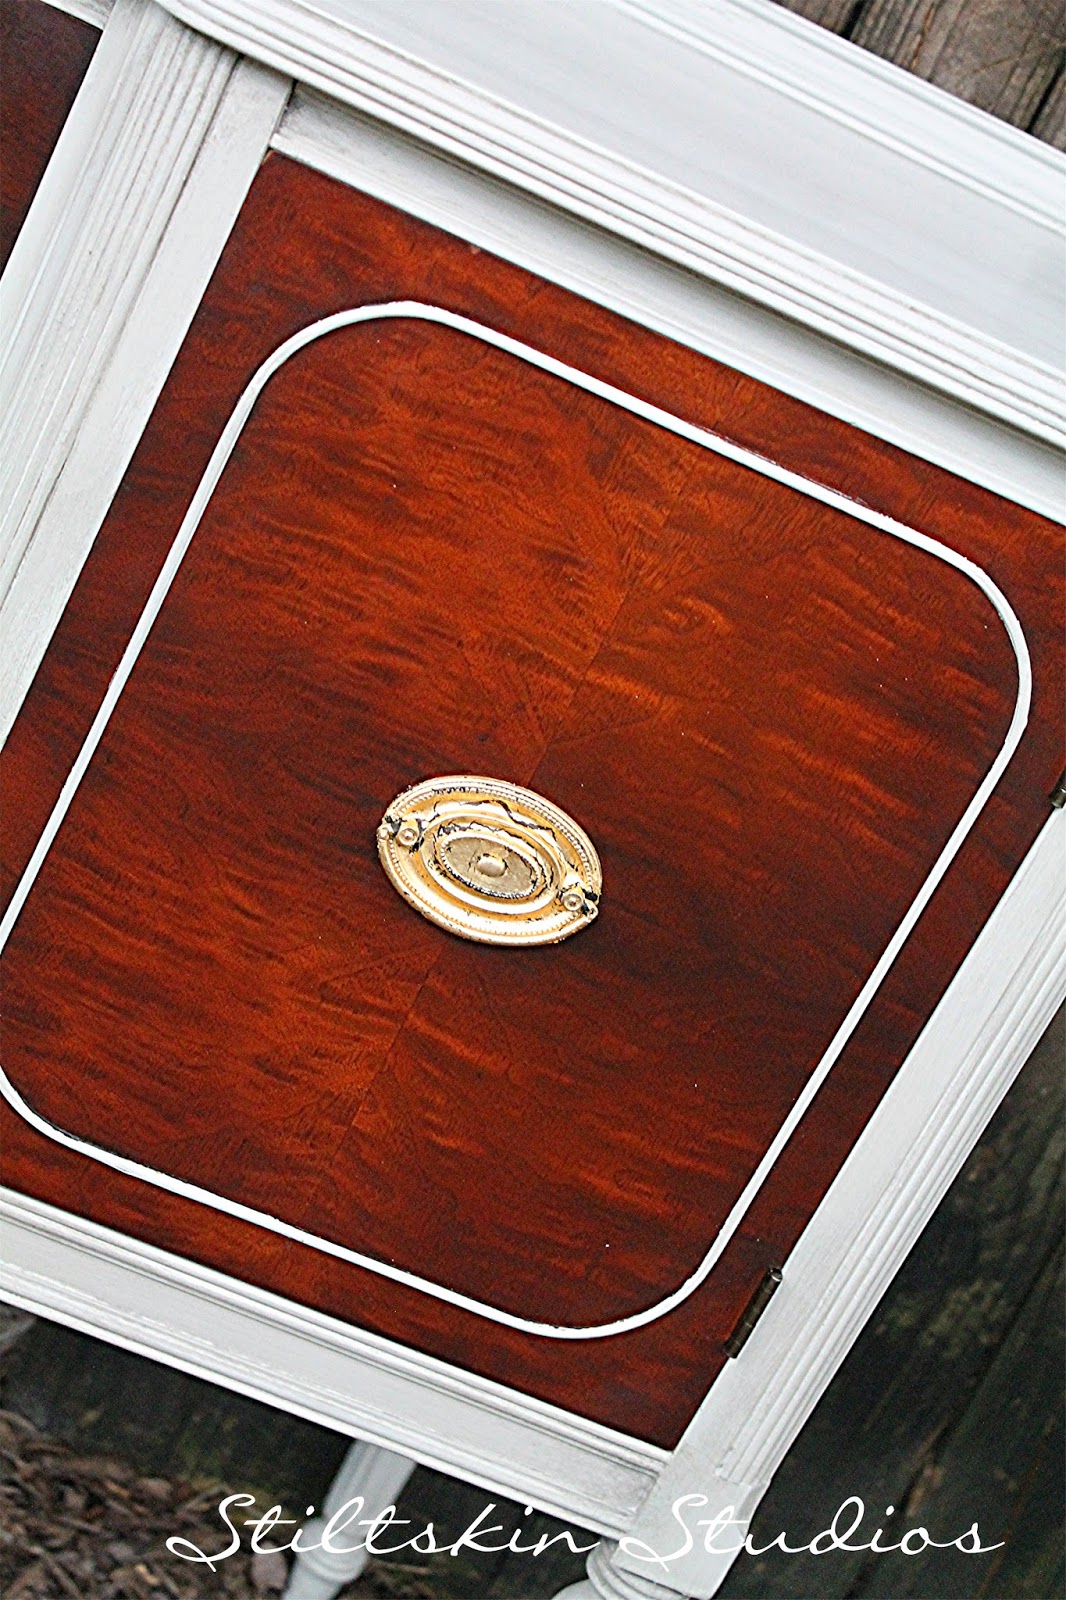
I restored the drawers and doors
(I decoupaged inside the top drawer with antique sheet music 
but forgot to get a pic!)

The original hardware wears a distressed gold leaf finish

No, it was NOT fun painting that trim on the doors...
If I never have to do that again, it will be just fine with me!

I had the supplies out to decoupage,
so I decided to do a little experiment on a plain wood box


This was a fun project, and SO EASY!

I mixed 50% Elmers glue with 50% water
and applied to the box
then smoothed on the sheet music I had already cut to size
I then brushed the glue mixture over the top to seal and let it all dry
(about 30 minutes)

Next, the fun part...
I sanded the heck out of with a medium grit sanding block,
followed by clear wax mixed with Dust of Ages to create a weathered wax

the finish looks old and worn but feels like silk...
I forsee this treatment on something larger in the future!

These items can be found at 607 VINTAGE MARKETPLACE 

Thanks for stopping by!

Michele~

Monday, October 13, 2014

Whitewashed Grey Dresser

I was down with Strep Throat for almost TWO WEEKS...
I'm not sure what was worse...the Strep or not painting!
(OK, Strep was the hands down worst of the two...)

I was incredibly eager to get back to work

This dresser had been awaiting paint for several weeks
and I'm quite pleased with the outcome


The wood was pretty enough, but sort of orange and quite dated
I debated on going very fancy with colored panels and gold leaf details
but I've been craving softness and gentle distressing lately


For this soft, romantic finish I mixed 
AHaH's Luxe Grey One Step Paint (OSP)
 with Black OSP
(3/1 ratio)
Then I glazed the paint using White Glaze from General Finishes
The white slightly lightened the grey, 
settling into the recesses and brush strokes

You could use a glaze, like I did, or a white wax,
 or even a watered down white wash
all would give you a similar look
I like to use what I have on hand, and I had glaze


I lightly distressed the edges while the glaze was still a bit damp
then sealed the entire piece with clear wax once dry

The hardware was painted Ballet White OSP
then waxed and finished with Dust of Ages for a lovely patina

Wouldn't this piece make a wonderful bathroom vanity?  

Available at 607 Vintage MarketPlace

Thanks for stopping by!

Michele

Wednesday, May 14, 2014

Sometimes, Less is More

So...this bed

So many options!

I struggled for weeks over what color/finish it "needed"

I finally settled on Luxe Grey from Amy Howard at Home
highlighted with white and some gold leaf

In theory, it worked

In reality, it was a lot of "look"
 if you know what I mean

The bed just didn't need it!

I switched gears, keeping the Luxe Grey
but highlighting with only Dust of Ages


So. Many. Details.

This bed took me WEEKS
(primarily because I could NOT work on it continuously...had to break it up!)

In retrospect, it's totally worth it
(well, it WILL be worth it when it sells!)


I had BIG plans to stage this bed...
a queen sized air mattress, pretty ruffled bedding, lots of pillows

HOWEVER,
I had a BIT of trouble setting it up alone!


So for now, it's staged just like you see it in the above photo...propped against the wall!

This gorgeous tallboy seemed like an ideal companion for the bed


It's just a "little" fancy...so it doesn't compete 
with the Baroque fabulousness of the bed


I wanted the hardware to look like antique, tarnished silver...


I'm really quite pleased with how it all came together...
proof that sometimes, 
less really is more 

Thanks for stopping by!

Michele

Saturday, January 18, 2014

If it's FREE, it's for ME

We've always thought it was a little strange
to pay hundreds of dollars to learn to use a paint product you just bought...

Of course, there is great value in learning tips and tricks
from someone with experience
but shouldn't the basics be available to anyone 
that wants to try the paint? 

We think so. 

So, in the spirit of paying it forward,
we're going to offer FREE classes each month

Now, don't get too excited...
(ok, you can get excited, it IS exciting!)
these will be BASIC classes...

Enough to give you a solid foundation 
and the courage to pick up a brush and dip into that paint
but we won't be sharing ALL our secrets


These classes will be fun and no-frills...
you won't go home with a cute apron 
we won't be feeding you breakfast or lunch
(just chocolate and coffee/tea/cocoa!)
and you'll need to bring your own SMALL item
(wooden candle sconces, a small shelf, a frame...you get the idea)
 we'll provide the paint, wax, etc


The idea is that we WANT you to try the paints we carry
we WANT you to be comfortable purchasing them,
because you've used them and have an idea how they perform
We've all spent hard-earned dollars trying new products,
only to have them gather dust because they didn't do what we wanted
or we couldn't figure out how to make them work well
(hello, dark wax!)


We only sell things we LOVE, so we know you'll LOVE them, too
once you try them!


We think it's a WIN/WIN

Our next FREE class is Saturday, Feb. 1 at 11am
Featuring Amy Howard Home One Step Paint
Wax, and Dust of Ages
Limited to 10 students
Registration required
stiltskinstudios@gmail.com

Hope to see YOU soon!

Kenny and Michele


Monday, December 10, 2012

Red Velvet Make-Over

Remember this dresser?

 Sad, sad, sad...


Someone had tried to spray paint her red...
it didn't work out so well!

Well have a look at her now!


We repainted her in Annie Sloan's Emp Silk Chalk Paint
with lots and lots of dark wax to make the red rich and dramatic


see that gorgeous gilding along the raised trim?
Yeah...that was NOT fun to do...
but it really makes the dresser, don't you think?

 We had to use clear wax on the white areas,
 but not on the gold or red areas...
that was also not the most fun thing ever!
But so worth it

We gilded the bottom edge and the shell detail on the legs,
but it started raining on us, so no pics today!

Even the hardware got a make-over!

It's hard to believe it's the same dresser, isn't it?

We're finishing up a mirror to accent this gorgeous dresser...
but all the moisture in the air today kept the paint from drying...
watch for that tomorrow!

It's tomorrow, and I finished the mirror!


I can see this piece in so many settings, from elegant to boho chic...
Where would YOU use this piece?

Sunday, November 18, 2012

Gilded Age Gorgeousness

We recently had the opportunity to try out a new product
(OK, new to US!)

It's called Modern Masters
and I now want to paint EVERYTHING
metallic!

We used the "Shimmer" Metallic Paint
in Warm Silver
(and let me tell you, I AGONIZED over what color to try
there is a rainbow of shimmery hues!)

I know, I know...you want pictures!
Here you go!
Remember THIS set?

Well just LOOK at her now!


So about the paint...
it goes on like a DREAM

It's opaque, but we used a lighter shade, so we used three coats
When I told Kenny we were going to try metallic paint, he said:
"you better let ME do this project"

He said this because he is a perfectionist painter,
whereas I am NOT...

Usually, metallics are VERY unforgiving
and every brush stroke shows
(which explains why Kenny didn't want me to do it!)
but this paint is so SMOOTH!

It dried fairly quickly, too

These pieces had a shiny, varnished surface
so we lightly sanded them first

We distressed just a little, and the paint was easy to distress

To finish, we used dark wax

I was very worried that I'd opted to tackle 
such a LARGE project with one quart of paint...
but guess what?
We've got half a quart left!  
I am OVER-THE-MOON
about how this set turned out...

Modern Masters was the perfect choice
to GLAM it up...

I loved it so much, in fact, 
I'm painting my own buffet-turned-entertainment center next!

This set is available in our ETSY shop