Showing posts with label wax. Show all posts

Tuesday, November 18, 2014

A Few of Our Favorite Things

No, I did NOT get a "before"
I know...I'm really terrible about that

close your eyes and visualize very light golden pine...
yep, you've got it. 
Not pretty.

Nothing, of course, that a little paint won't fix!

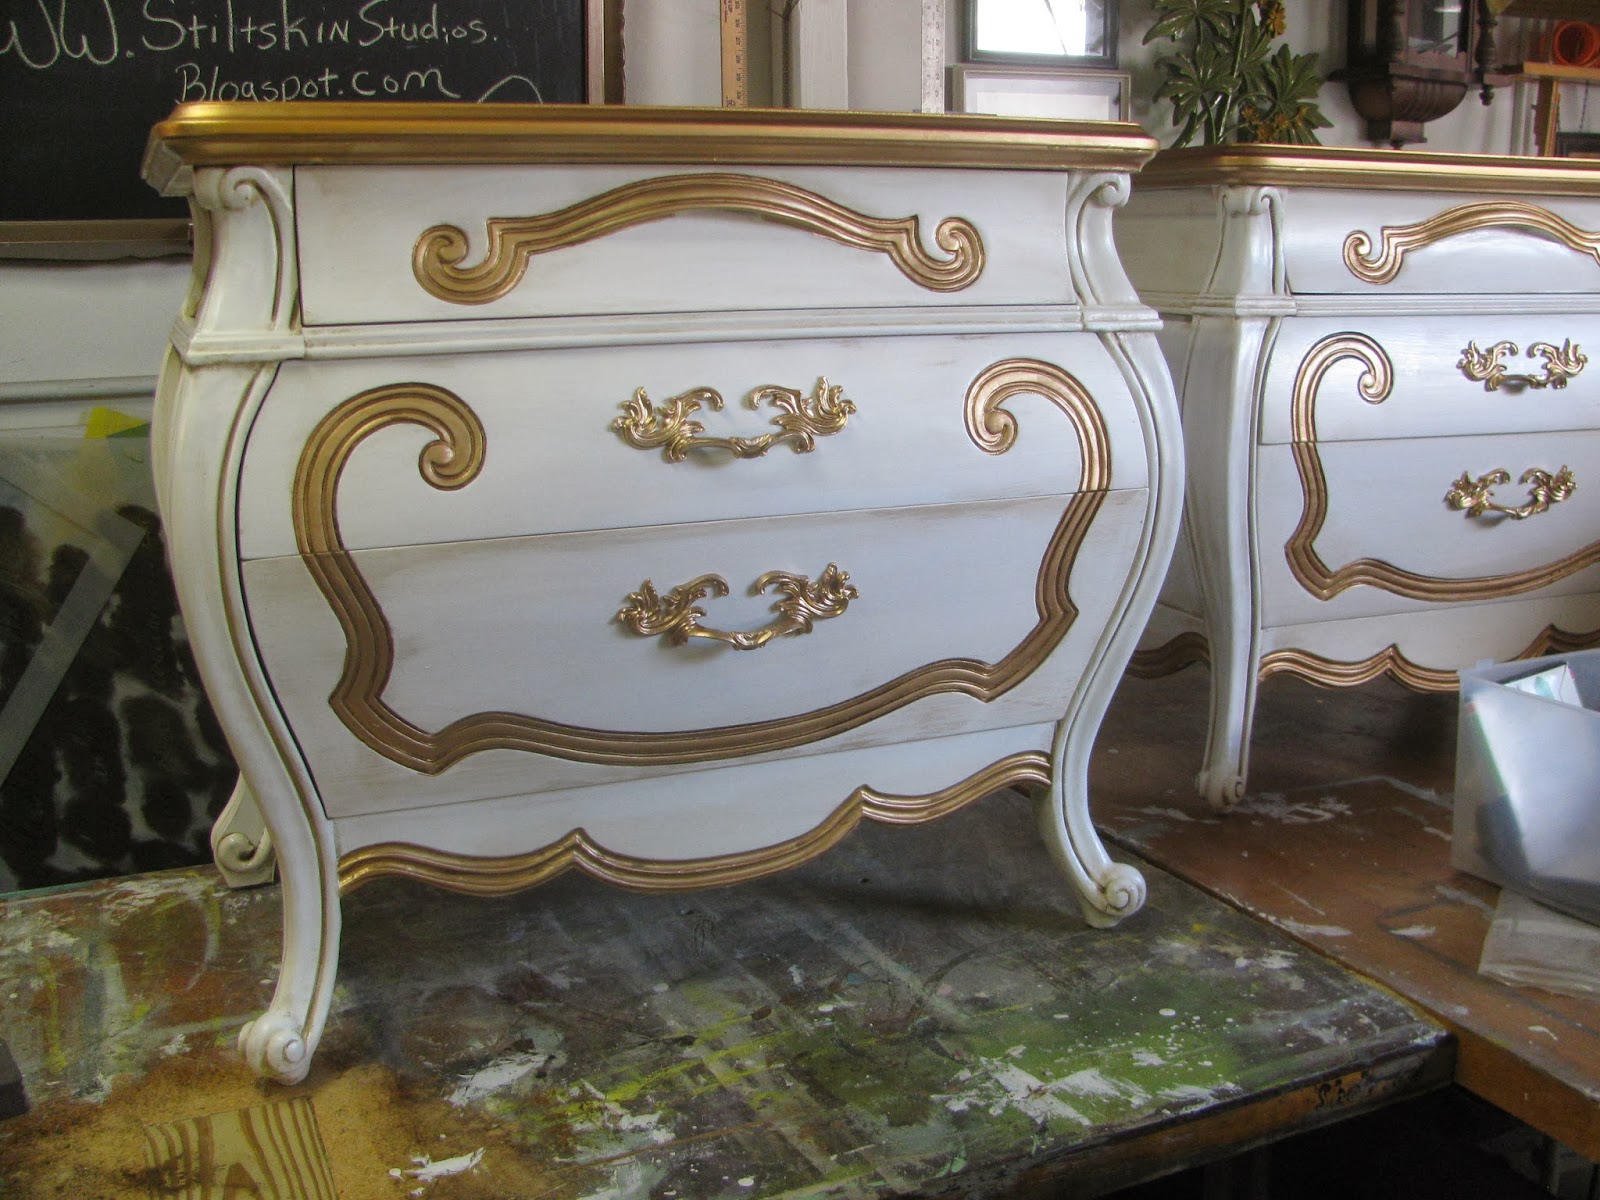
I call this my FAVORITE THINGS dresser
because I used some of my favorite products to complete it


 I've really come to embrace these dramatic triple mirrors...
they really make a huge statement!
(also, that little sign sums up my life...
it's not perfect, but my hair sure is!)


This is a much better representation of the true color
I used Luxe Grey from Amy Howard at Home's One Step Paint line for the base
(and on the hardware)


The hardware simply received two coats of OSP, wax, and Dust of Ages
Our wax of choice is Carnauba Wax from Real Milk Paint Co


I wanted the body of the dresser to be a bit more dramatic
(not as soft as the hardware)
so I used a custom blend of General Finishes Glazes


I'm crazy about how the glaze settled into the oak, highlighting the grain and the wear marks
(I know they are fabricated to mimic age, but who cares...they looks amazing!)

Here's a run-down of a few of my FAVORITE THINGS:

What are your favorite, "go to" products?

M~

Thursday, July 31, 2014

Knock Knock

Knock Knock...
Who's there?  

TICK TOCK!


Tick Tock One Step Paint, that is!

Our front door was desperately in need of some assistance...
a perky pick-me-up
(and a good pressure washing!)

Before was such a snooze-fest...
zero personality...
this is the color it's been since we moved in...and I've hated it every day since
but you know how it goes...you get so used to looking at it,
you don't even notice it anymore


Now it looks refreshed and playful

I realize vibrant aqua isn't for everyone...
we live on the coast of FL...
land of sun and surf, palm trees and hibiscus
An aqua door isn't the least bit out of place!

Here are the steps:
1. clean the door- I pressure washed about a month ago, then cleaned the door with soap and water before painting. Pressure washing isn't necessary.

2. Paint with chosen color of One Step Paint from Amy Howard at Home
We selected Tick Tock after much debate...the lighter color over the somewhat darker oil-based paint took three coats

3. Seal- I used Clear Wax, applied sparingly, and buffed once dry.  You could also seal with poly, but we've found the AHaH wax is durable enough to use on our front door.  

4. Decorate your new front door
 (then lament as you realize now your house REALLY needs painted!)

Isn't it funny how one project leads to five, ten, TWENTY more?

I'm already looking at paint colors for the house and garage...
and the weather stripping around the door needs replaced...
and the landscaping could use some refreshing...
and the fence is looking pretty shabby....

Thanks for dropping by!

Michele

Tuesday, January 28, 2014

Spring Break in Mexico?

Our style is hard to pin down...we love so many...
French, Gustavian, Mid Mod, Farmhouse...
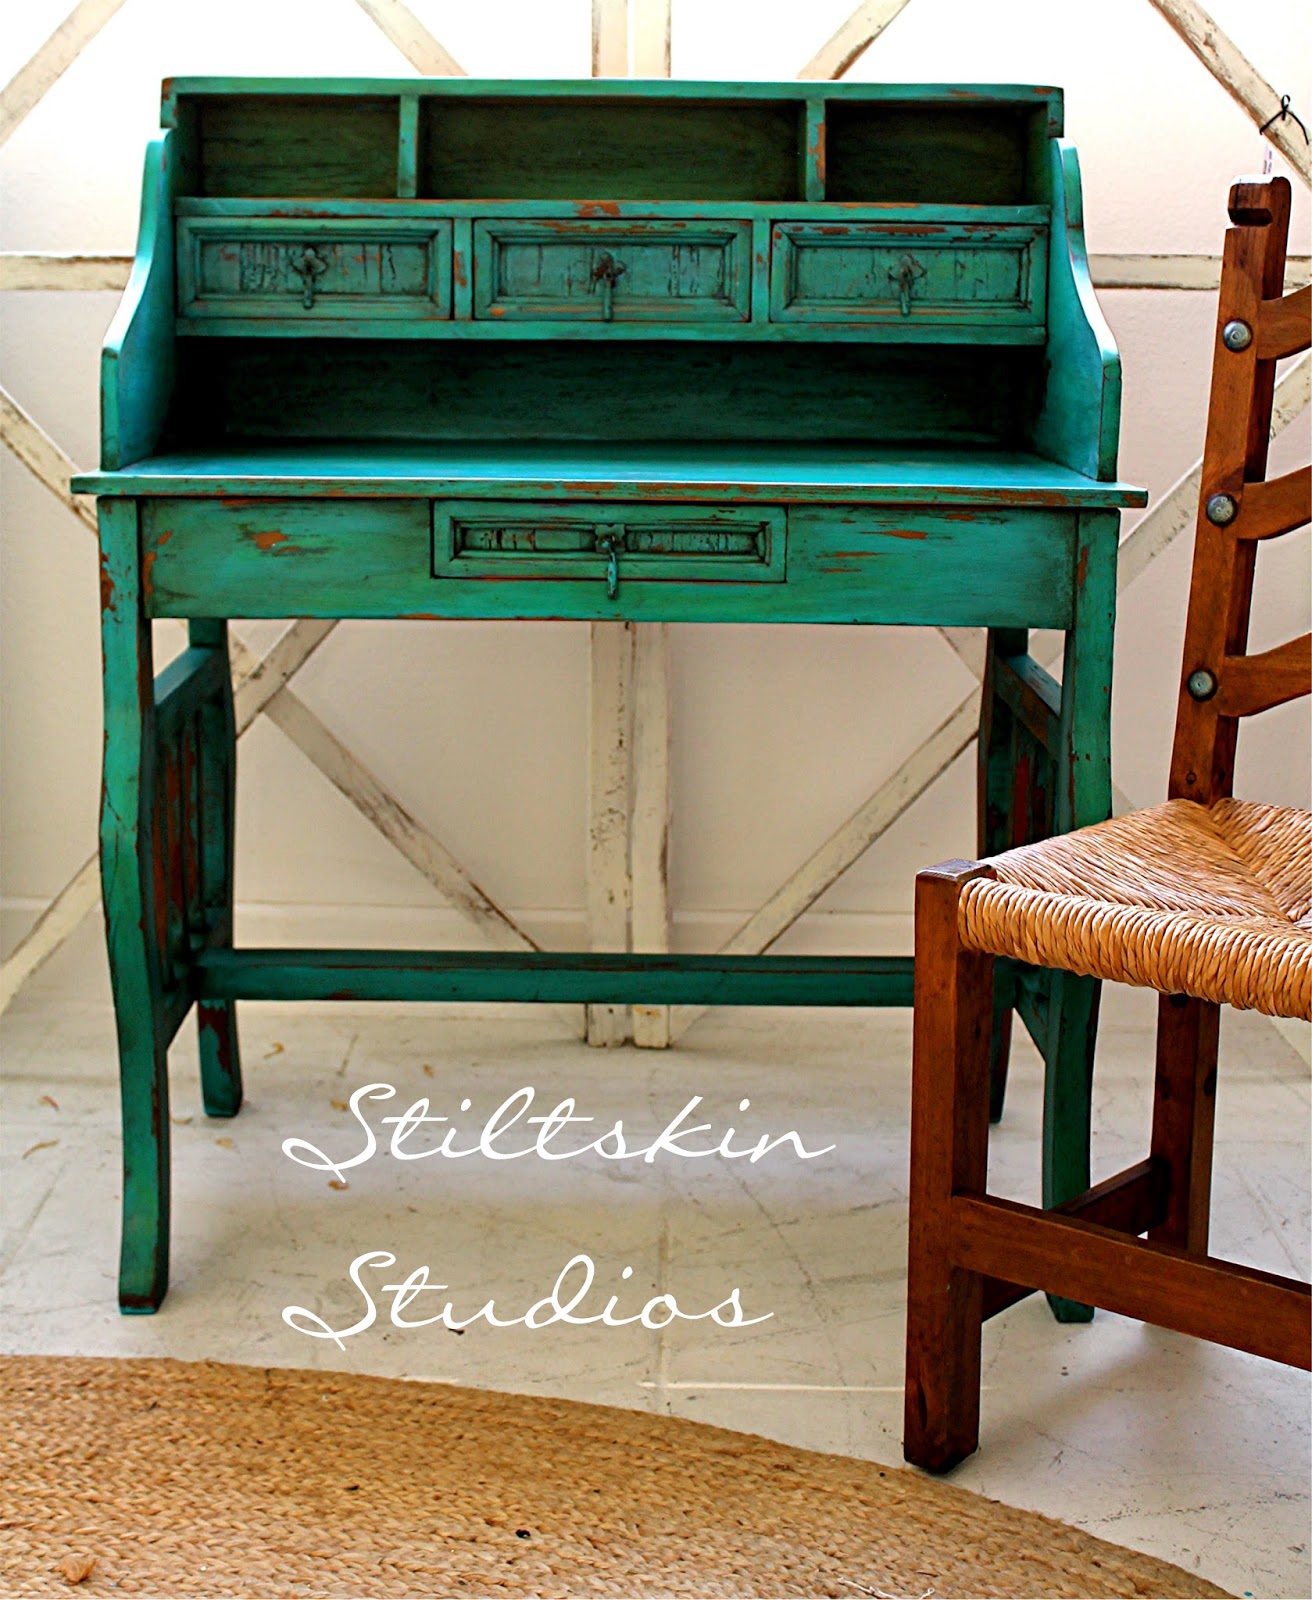
Spanish/Mexican is definitely something different for us, though!

Great lines, right? 
And we LOVE the rustic vibe it's got goin' on

We thought about painting it white for a nano-second,
but decided to honor the heritage of this Mexican import


We used five different shades of blue and green milk paint
and a rich, tomato red inside the big drawer

 We applied layer upon layer
not waiting for each layer to completely dry
so the color variations flow into one another

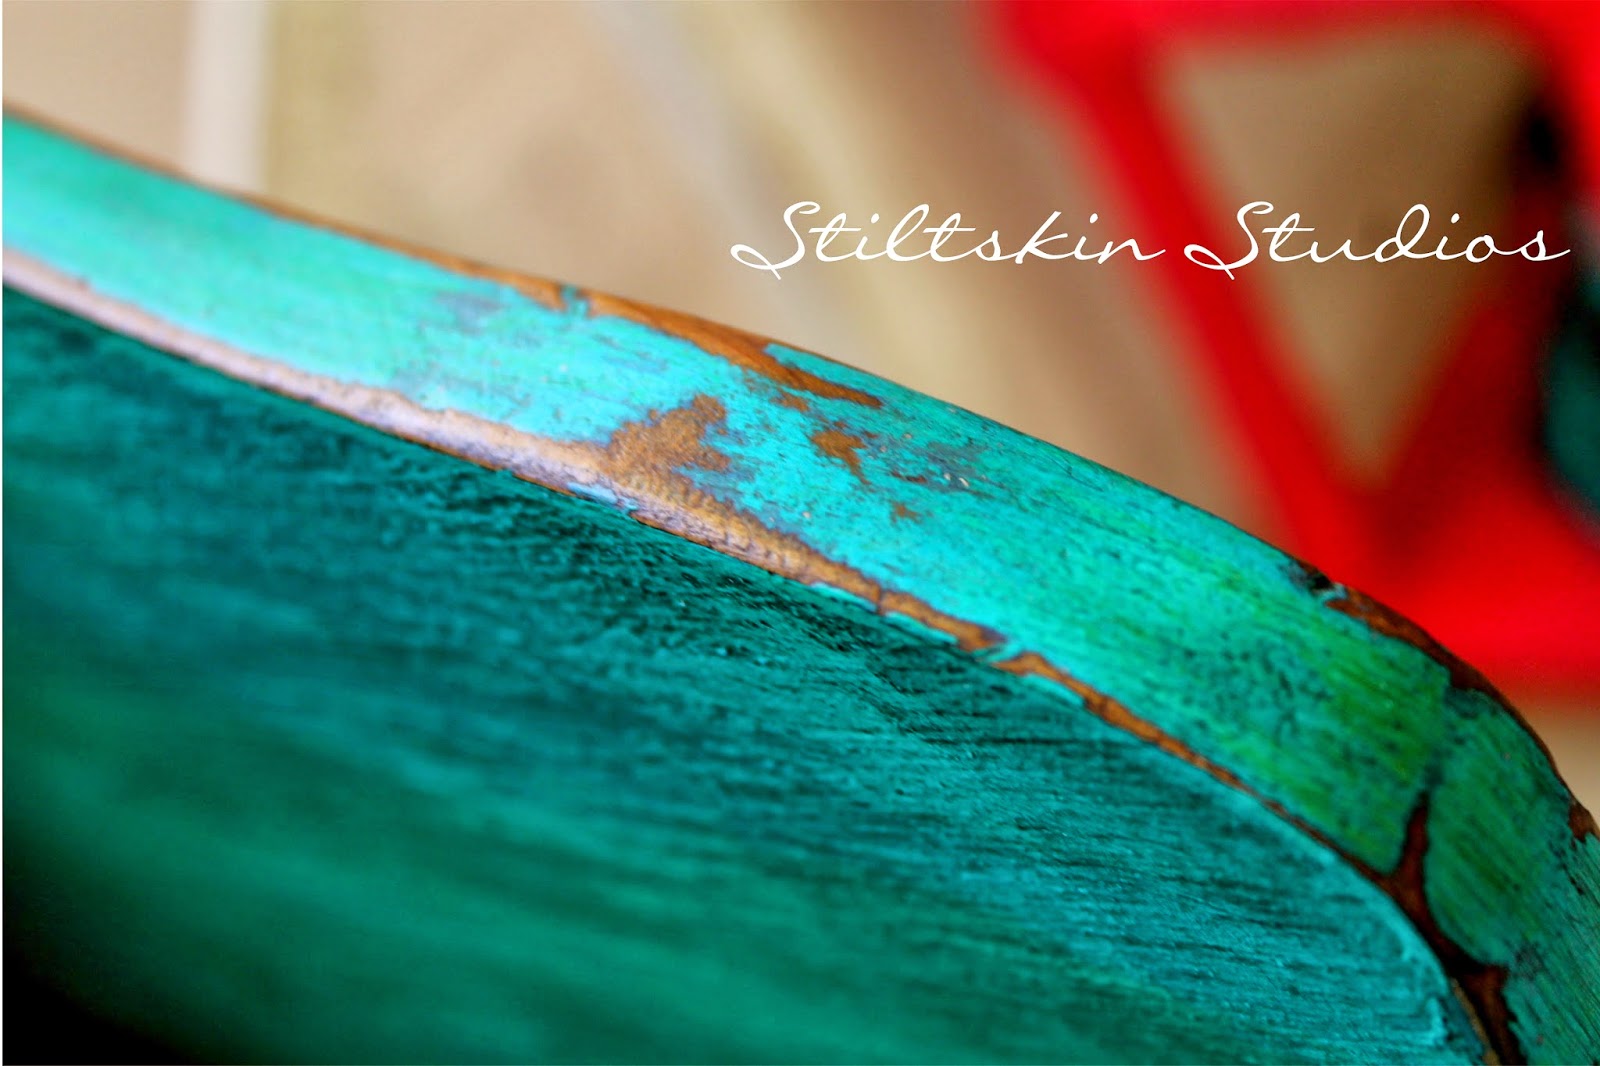
 The milk paint, as usual, did a spectacular job of chipping...

 We used Antique Glaze from Amy Howard Home 
applying multiple layers (it's a watery glaze, very subtle and build-able)
once that dried, we sealed with carnauba wax
This combination REALLY made the variations of color stand at attention!

 The colors remind us of the ocean...ranging from deep blue to aqua, turquoise, and green


We left the chair in it's natural state, 
only adding a bit of stain to add depth to the wood
The metal rivets along the back have been highlighted with shades of green and aqua
to mimic weathered copper's verdigris finish

Rustic and loaded with character, patina, and charm...
this desk is the perfect piece for a neutral room...
can you imagine all that chippy goodness
 coupled with the warm wood of the chair
in an all white room?  
Yes, please!

You can find this charming desk set in our Etsy shop

Tuesday, November 5, 2013

One Step Paint 101

We've been fielding questions lately
about how Amy Howard at Home's One Step Paint 
compares to other paints we've used...
while we wouldn't necessarily consider this "chalk-type paint"
we will explain the similarities and differences
as we've noted them

We've used just about every brand available
(and a few that aren't even on the market yet)
so we have a great basis for comparison

Clearly, we love the product because we 
decided to become retailers for the brand
(after considering numerous others)
but this is our true, unbiased opinion

If we didn't believe it to be wonderful in nearly every aspect,
we would not have jumped in as retailers!

So... what "sold" us?

  It's great.
Simple as that!


Although we'll be retailing many products from Amy Howard at Home,
the One Step Paint seems to be the one most asked about

The collection consists of 34 gorgeous colors
light wax, dark wax, and Dust of Ages

You don't have to prep beyond cleaning your piece and making necessary repairs
and you don't have to prime

We like to tell people to follow common sense practices
If the surface is super shiny, or covered in latex,
you might want to do a little prep work

It's up to you, though!

(Cartouche Green)

The paint itself is smooth, and a bit silkier than other chalk-type paints we've used
We're accustomed to having to water-down our second and third coats
because after the first coat, you know it gets harder and harder!

(Selznick Grey)

Like similar paints, the pigment can settle to the bottom
so always shake/mix well before using
Much like other furniture paints, this paint does have a bit of texture to it..
you'll have subtle brush strokes
For us, it's a sign the item was hand painted 
and lends to the character of the piece

One of the biggest benefits of One Step Paint is that it 
DOES NOT NEED TO BE SEALED

Yup, you read that correctly!

Un-waxed, the finish is satiny
(not chalky) but matte

We did a little test,
 (ok, so it was an accident...but it all worked out!)
and dripped some iced tea on an unsealed surface
it wiped away, without leaving a mark
Color us impressed!

We do love the subtle sheen wax gives a surface,
and Amy's wax is so soft and easy to apply...
we were literally SHOCKED at how quickly we finished waxing a dresser
and because we applied with a soft rag instead of a brush,
the surface took on a gorgeous, buffed shine
When I think of the time we have applying wax and buffing it off
(and buffing, and buffing, and buffing some more!)...yikes.
This was a VERY welcome change!


Amy's Dark Wax  isn't meant to be applied all over the piece
(BIG change for us!)
but instead, applied gingerly into the areas that would naturally darken
As a finishing touch, Dust of Ages can be applied 
to tacky wax for an authentic aged appearance

(Bauhaus Buff with Gold Leaf)

Another difference worth mentioning is one of the 
big reason's we embraced this product

Have you ever been buffing the surface of a piece painted with chalk-type paint
and the raised areas and drawer edges buff away?
This is fine if your piece is distressed, but we don't always want 
whatever is underneath to show through

One Step Paint?
It doesn't budge unless you want it to...

(see, no wear on the edges!)

That being said, we're still experimenting with the best method of distressing
for the times when we DO want it to rub off...

That's another post!

Overall, we have been consistently WOWed by this collection...
the color range is divine
(how many shades of grey?  Be still my heart!)
and the entire line has a certain air of LUXURY about it...
Almost decadent....

And luxury comes at a price, right?
Would you believe me if I told you it retails for LESS
than the other paints we've used!
$30/Quart

WE KNOW, RIGHT?  
Crazy!
Crazy good. 

Michele


Tuesday, July 17, 2012

Waxing Poetic


You know that moment? 


The one right after you admire your fine paint job…and right before you pick up your wax brush?
Do you get a knot in your stomach because you’re afraid of the Wax?
Using Clear and Dark wax needn’t cause you anxiety, but there is definitely a bit of a learning curve!
Pull out an old board to paint and wax, and follow along…

First, the basics:


 Annie Sloan Paint and wax are meant for one another.

Trust me on this.

I’ve tried other waxes over painted furniture, and it never ends well.
OK, so maybe it doesn’t end in the horrific demise of the piece being waxed, but it certainly never looks as rich and lustrous
as when I use Annie Sloan Wax. 


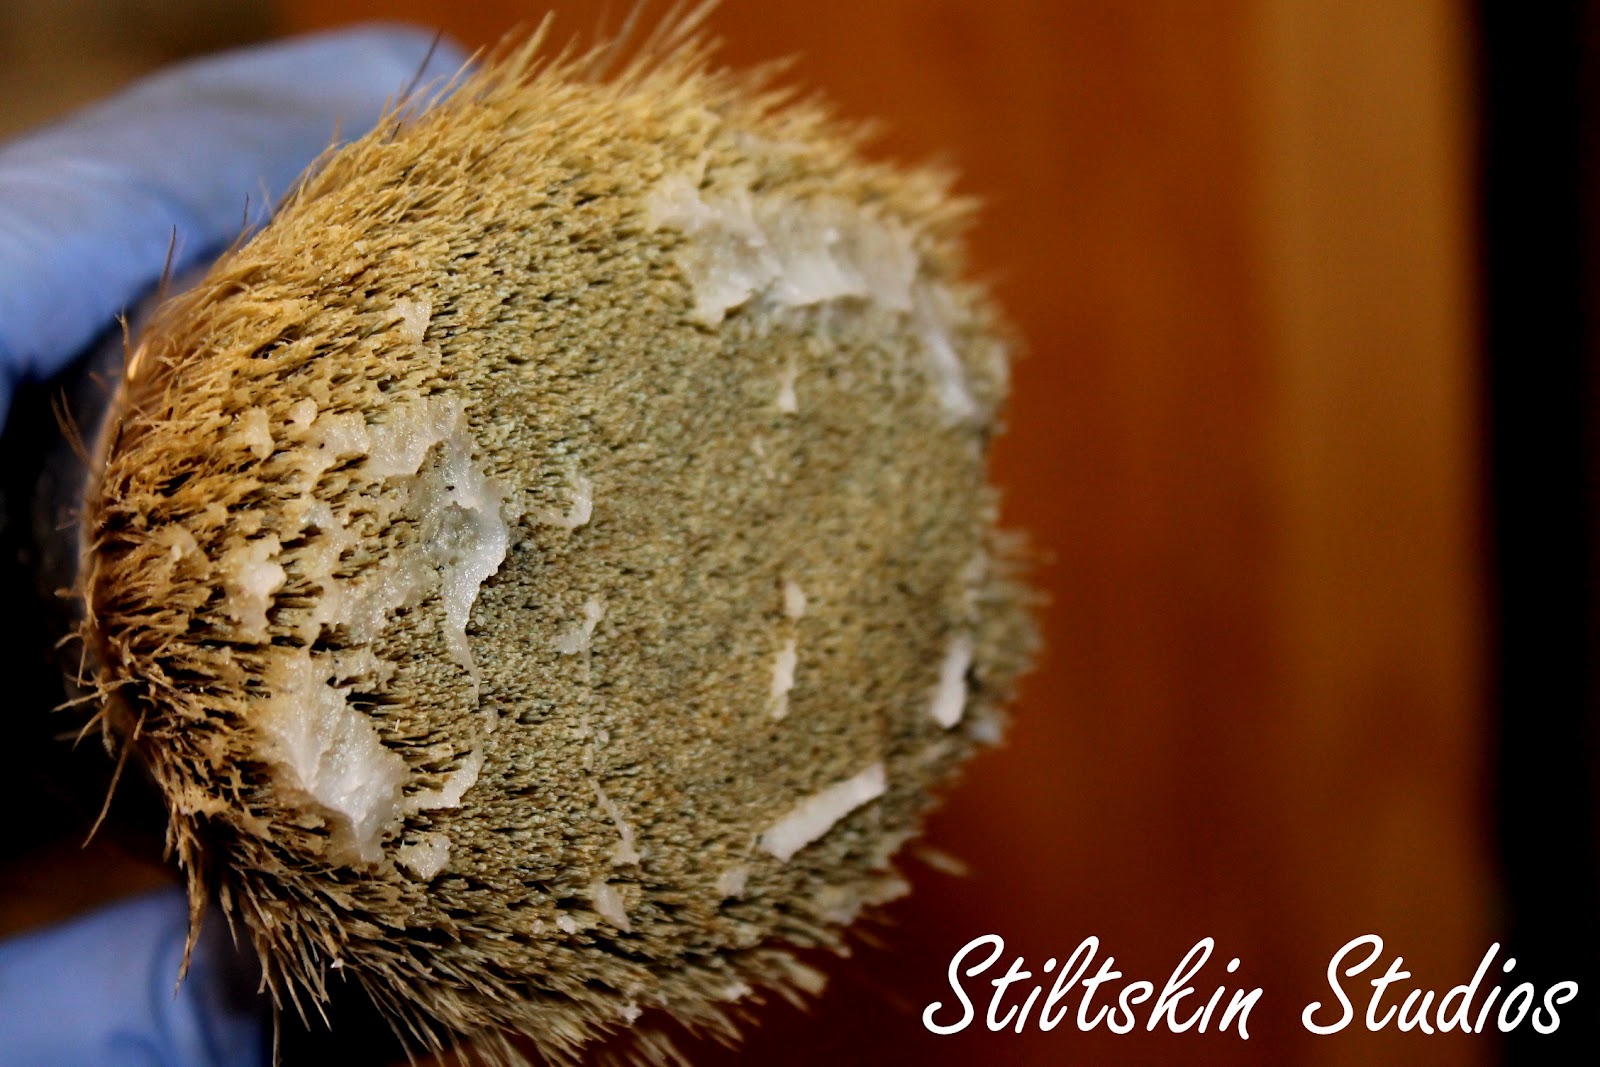
This is about how much Wax I use each time I dip in to the tin…
there is no need to cover each bristle…

I like to really swirl it around in a haphazard fashion…
really working it in as I go
 This photo (above) shows Pure White with one coat of Clear Wax


Clear and Dark wax are meant to be used in conjunction with one another
Apply Clear Wax first,
 remove excess with an old T Shirt or soft cloth
and follow with Dark Wax
Remember to work in manageable sections…one drawer at a time, etc.
If you cover the entire piece, by the time you finish, 
the area you started on will have already started to “cure”.
The longer the wax sits, the harder it is to remove the excess.
Make it easy on yourself! 

 This is how my Dark Wax looks before I wipe off the excess…
it’s a thin layer, but you can see I’ve really worked it in to the paint


 The photo above shows one coat of Dark Wax applied
over one coat of Clear Wax
 (see, nothing to be afraid of! It’s lovely!)


 This photo illustrates the outcome if you simply skip ahead to Dark Wax…
and once you’ve done this, there is no going back (aside from repainting…)

 Sometimes, I like to skip ahead…Dark Wax looks fantastic all by itself over darker shades such as Emperors Silk, Graphite, and Olive, to name a few. 

If you think you’d like to try using just Dark Wax, I strongly encourage you to try it out on a sample first!

The beauty of applying the Clear Wax first is that if you get a little too aggressive with the Dark Wax, 
or just don’t want so much Dark Wax on your item,
you can apply a bit more Clear Wax
 and buff away much of the Dark Wax.
 A little Clear Wax will go a long way…
if you apply a boatload (technical term!) of Clear Wax,
 you’ll probably remove all your Dark Wax 
and end up spending your time trying to remove
your over-zealous Clear Wax application…
lots of buffing! 

That’s it, really…the basics. 


1.       Apply Clear Wax-use enough to work the wax into the paint, but not so much that it’s gloppy and thick. Wipe away the excess. Now walk away. You heard me. Walk away, get a drink, check your email…let the wax “cure” for a bit. Overnight is lovely, but if you are like me, that’s not going to happen. I wait at least 30 minutes.

2.       Apply Dark Wax-again, use enough to cover, but not so much it’s difficult to remove; a thin coat is plenty. You can always add more dark wax to certain areas if you so choose.  Wipe off excess. Don’t buff, just wipe. This should not entail a vigorous workout. If it does, you’ve probably been a bit heavy handed with the wax. Walk away again.  Come back later…like, tomorrow. 

3.       Buff the surface, if you desire. Annie recommends using cheese cloth for this, but a soft cloth or old towel works well, too.  You should be able to buff the surface fairly easily. If it’s still really tacky and sticky and you’re having a hard time, use less wax next time.  You might have to put a little muscle into it to get the shine you desire, but you probably won’t break a sweat. 

If dark wax still scares you, you can mix your Dark Wax with a bit of Clear Wax to lighten it.

 I prefer to work with a Wax Glaze.
A Wax Glaze, you ask? Yep. So easy. 

 You’ll need Dark Wax and some mineral spirits
(you can buy this at any hardware or paint store)
I like to use a variety of brushes when working with Wax Glaze


I save my old Wax tins for mixing Glazes and Colored Waxes
 ( Just add a bit of the color of your choosing to Clear Wax and like magic, you have Colored Wax. I love Graphite the most.)
Some prefer a 50/50 mix of Wax to spirits but I prefer mine a bit thicker, so my ratio is more like 75/25


On the left, Dark Wax, on the right, Glaze. 
You can see the Glaze is thinner, but not super runny


The Glaze, due to its thinner consistency, really grabs onto my brush, 
but that’s OK since it’s very easy to remove

Glaze is applied in the same fashion as Dark Wax.
 You can apply it over Clear Wax or on its own
It does tend to “cure” faster and can still be buffed to a lovely sheen
Here’s my photo step-by-step using Dark Wax Glaze over Clear Wax

 One coat of Provence

 One coat of Scandinavian Pink

 Clear Wax, prior to removing excess…
notice no huge globs but all areas are covered
 (and yes, I distress prior to waxing…my personal (messy) preference)

 After applying Glaze

 After wiping back the excess. 
You can see there is still too much Glaze, 
but a rag just isn’t going to do the trick in those nooks and crannies…
enter the $1 2” chip brush!

 It’s cheap and gets the job done! 
Used dry and (relatively) clean,
 it works most of the Glaze out of the depressions,
 making it much easier to wipe back
 (just don’t try painting with these…they are terrible!)

 That’s better! Here is the finished product. You can see the Glaze,
used over the Clear Wax, 
adds just a bit of definition and depth. 

When you want a softer look (or if Dark Wax scares the bejeezus out of you), 
Glaze is a great option! 

I will note, I used to despise working with Wax…Dark in particular.

 My first project with Annie Sloan Paint was done in Old White.
 I didn’t know about using Clear Wax, so I just lobbed the Dark on.

I used WAY too much (I was used to working with Glazes)
and did the entire piece before I started wiping back.

 By the time I was done, my arms were numb from buffing,
and I called the piece “CafĂ© Au Lait”…
that should tell you what color I ended up with…
it sure wasn’t Old White!  

I’ve learned much since that first experience.
I read Annie’s books Creating the French Look 
and Quick and Easy Paint Transformations 
and then I painted and waxed.
A lot. 

It took practice and patience,
but I firmly believe NOTHING looks as gorgeous on a piece of furniture. 

Now go forth and WAX!