You know that moment?
The one right after you admire your fine paint job…and right
before you pick up your wax brush?
Do you get a knot in your stomach because you’re afraid of
the Wax?
Using Clear and Dark wax needn’t cause you anxiety, but
there is definitely a bit of a learning curve!
Pull out an old board to paint and wax, and follow along…
First, the basics:
Annie Sloan Paint and wax are meant for one another.
Trust
me on this.
I’ve tried other waxes over painted furniture, and it never ends
well.
OK, so maybe it doesn’t end in the horrific demise of the piece being
waxed, but it certainly never looks as rich and lustrous
as when I use Annie
Sloan Wax.
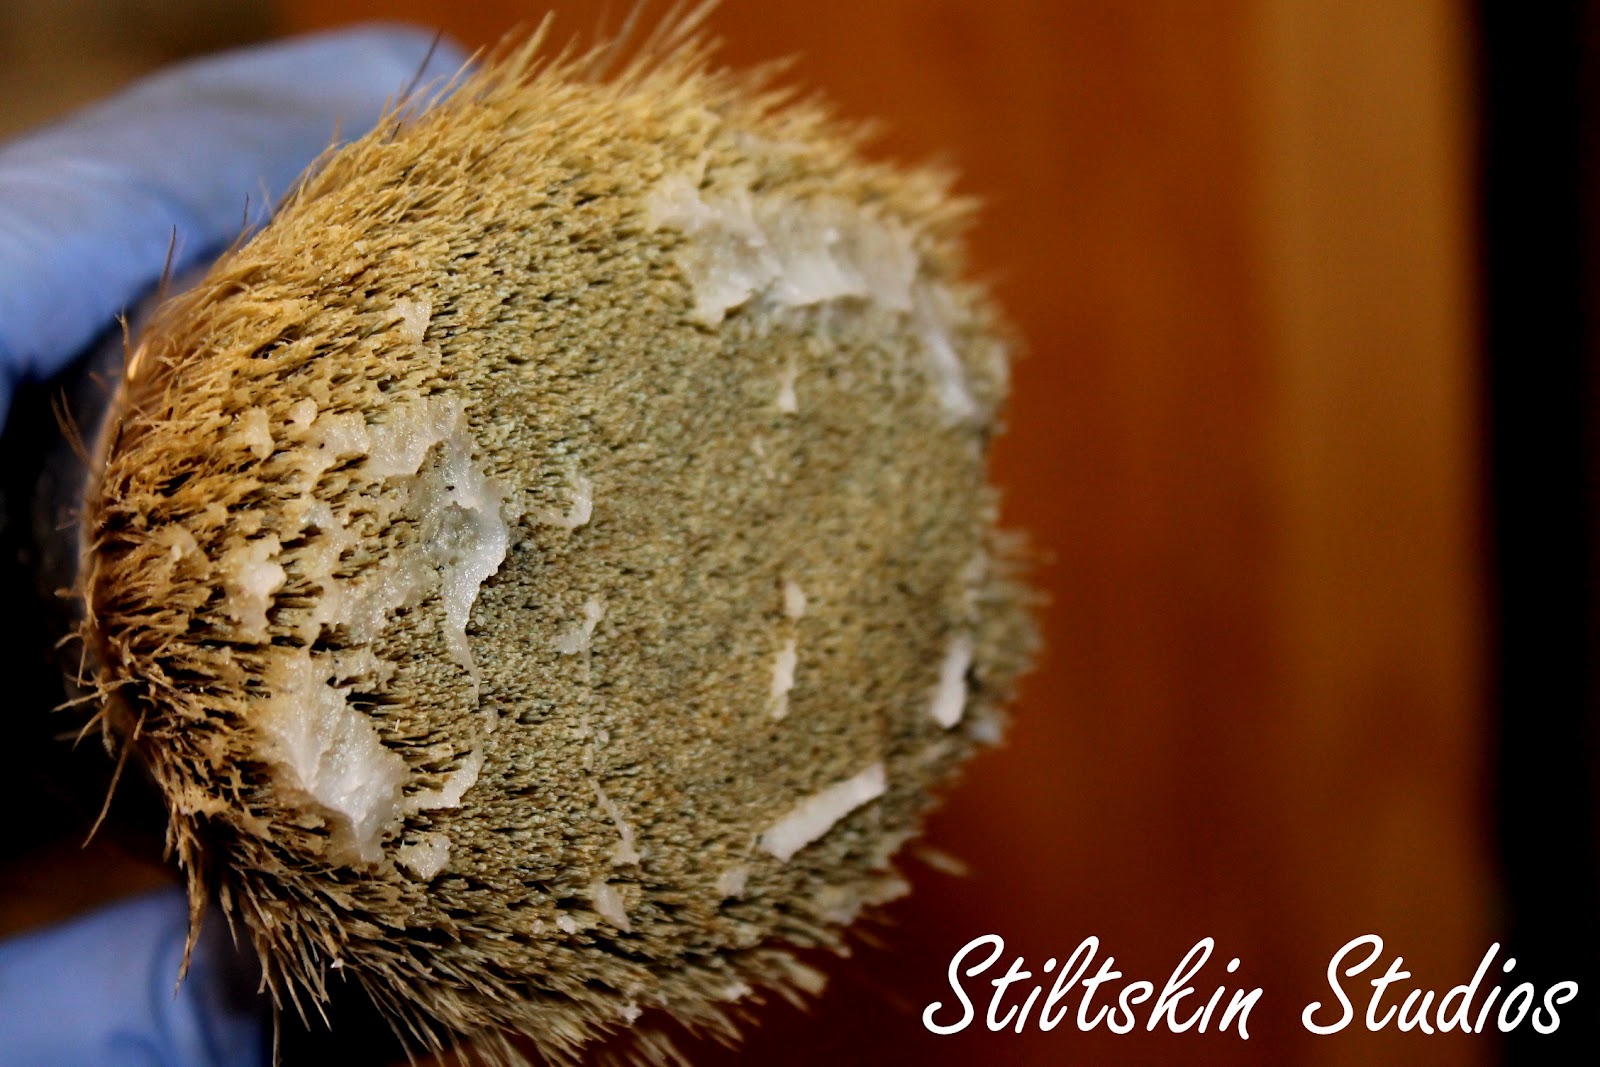
This is about how much Wax I use each time I dip in to the
tin…
there is no need to cover each bristle…
I like to really swirl it around
in a haphazard fashion…
really working it in as I go
This photo (above) shows Pure White with one coat of Clear Wax
Clear and Dark wax are meant to be used in conjunction with
one another
Apply Clear Wax first,
remove excess with an old T Shirt or
soft cloth
and follow with Dark Wax
Remember to work in manageable sections…one drawer at a
time, etc.
If you cover the entire piece, by the time you finish,
the area you
started on will have already started to “cure”.
The longer the wax sits, the
harder it is to remove the excess.
Make it easy on yourself!
This is how my Dark Wax looks before I wipe off the
excess…
it’s a thin layer, but you can see I’ve really worked it in to the paint
The photo above shows one coat of Dark Wax applied
over one
coat of Clear Wax
(see, nothing to be afraid of! It’s lovely!)
This photo illustrates the outcome if you simply skip ahead
to Dark Wax…
and once you’ve done this, there is no going back (aside from
repainting…)
Sometimes, I like to skip ahead…Dark Wax looks fantastic all by
itself over darker shades such as Emperors Silk, Graphite, and Olive, to name a
few.
If you think you’d like to try using just Dark Wax, I
strongly encourage you to try it out on a sample first!
The beauty of applying the Clear Wax first is that if you
get a little too aggressive with the Dark Wax,
or just don’t want so much Dark
Wax on your item,
you can apply a bit more Clear Wax
and buff away much of the
Dark Wax.
A little Clear Wax will go a long way…
if you apply a boatload
(technical term!) of Clear Wax,
you’ll probably remove all your Dark Wax
and
end up spending your time trying to remove
your over-zealous Clear Wax
application…
lots of buffing!
That’s it, really…the basics.
1.
Apply Clear Wax-use enough to work the wax into
the paint, but not so much that it’s gloppy and thick. Wipe away the excess.
Now walk away. You heard me. Walk away, get a drink, check your email…let the
wax “cure” for a bit. Overnight is lovely, but if you are like me, that’s not
going to happen. I wait at least 30 minutes.
2.
Apply Dark Wax-again, use enough to cover, but
not so much it’s difficult to remove; a thin coat is plenty. You can always add
more dark wax to certain areas if you so choose. Wipe off excess. Don’t buff, just wipe. This
should not entail a vigorous workout. If it does, you’ve probably been a bit
heavy handed with the wax. Walk away again.
Come back later…like, tomorrow.
3.
Buff the surface, if you desire. Annie
recommends using cheese cloth for this, but a soft cloth or old towel works
well, too. You should be able to buff
the surface fairly easily. If it’s still really tacky and sticky and you’re
having a hard time, use less wax next time.
You might have to put a little muscle into it to get the shine you
desire, but you probably won’t break a sweat.
If dark wax still scares you, you can mix your Dark Wax with
a bit of Clear Wax to lighten it.
I prefer to work with a Wax Glaze.
A Wax Glaze, you ask? Yep. So easy.
You’ll need Dark Wax and some mineral spirits
(you can buy
this at any hardware or paint store)
I like to use a variety of brushes when working with Wax
Glaze
I save my old Wax tins for mixing Glazes and Colored Waxes
(
Just add a bit of the color of your choosing to Clear Wax and like magic, you
have Colored Wax. I love Graphite the most.)
Some prefer a 50/50 mix of Wax to spirits but I prefer mine
a bit thicker, so my ratio is more like 75/25
On the left, Dark Wax, on the right, Glaze.
You can see the
Glaze is thinner, but not super runny
The Glaze, due to its thinner consistency, really grabs onto
my brush,
but that’s OK since it’s very easy to remove
Glaze is applied in the same fashion as Dark Wax.
You can
apply it over Clear Wax or on its own
It does tend to “cure” faster and can still be buffed to a
lovely sheen
Here’s my photo step-by-step using Dark Wax Glaze over Clear
Wax
One coat of Provence
One coat of Scandinavian Pink
Clear Wax, prior to removing excess…
notice no huge globs but
all areas are covered
(and yes, I distress prior to waxing…my personal (messy)
preference)
After applying Glaze
After wiping back the excess.
You can see there is still too
much Glaze,
but a rag just isn’t going to do the trick in those nooks and
crannies…
enter the $1 2” chip brush!
It’s cheap and gets the job done!
Used dry and (relatively)
clean,
it works most of the Glaze out of the depressions,
making it much easier
to wipe back
(just don’t try painting with these…they are terrible!)
That’s better! Here is the finished product. You can see the
Glaze,
used over the Clear Wax,
adds just a bit of definition and depth.
When
you want a softer look (or if Dark Wax scares the bejeezus out of you),
Glaze
is a great option!
I will note, I used to despise working with Wax…Dark in
particular.
My first project with Annie Sloan Paint was done in Old White.
I
didn’t know about using Clear Wax, so I just lobbed the Dark on.
I used WAY too
much (I was used to working with Glazes)
and did the entire piece before I
started wiping back.
By the time I was done, my arms were numb from buffing,
and I called the piece “Café Au Lait”…
that should tell you what color I ended
up with…
it sure wasn’t Old White!
Now go forth and WAX!