Showing posts with label paint. Show all posts

Friday, July 18, 2014

A Quartet of Delicious NEW Colors!

Kenny is at his pre-op appointment...
covered in paint!
He forgot it was today...oops!

Since he's tied up, I have a bit of free time
to share the new Amy Howard at Home One Step Colors with you!

Do you get as excited about new colors as I do?

First up, a lovely royal blue/navy 
called American Dream


What I love about this color is it's mix-a-bility (new word!)
Out of the can, it's a vibrant, rich blue
but it mixes gorgeously to create deep navy, teal, peacock, cobalt...
even a rich array of purples

For some blue inspiration, visit our Pinterest board:

We live on the west coast of Florida, 
and the beach is never more than a few minutes away...
so these beachy colors make me happy, indeed!


Tick Tock is a fresh minty green shade...
add a touch of white for a softer look, or a bit of blue or green for more vibrancy...
as is, it is STUNNING!
(greens are SO hard to capture on film...
my pic reads a touch more soft than it's true greenish blue shade)

For some inspiration:


Get in Gear is probably my favorite of the four new colors...
strong and true, this reads a bit Kelly Green w a hint of blue


Lastly, Table for One

A strong, mid range pink with a retro vibe
Out of the can, it's bold and wonderful
but it mixes well to create a variety of shades from subtle peach to coral, 
as well as just about every shade of pink, plum, or berry you can dream up!

Need some Inspiration?


We really enjoyed dipping into these strong new shades from Amy Howard at Home
I'm looking forward to seeing how YOU use them!

Thursday, January 30, 2014

Toscana Powder Paint

It's no secret that we LOVE to get our hands dirty
with new products...
particularly when the products AMAZE US

We've been consistently thrilled and impressed by 
Amy Howard Home's product lines
(and the bar was set PRETTY high...we don't impress easily!)

One Step wowed us
then, the Lacquer Sprays...
so of course, we could NOT wait
to get our hands on Amy's Casein (milk) Paint...Toscana!


Amy's artisans create INCREDIBLE finishes using this paint, along with some ancillary products

(photo courtesy of Amy Howard Home)

We figured we'd break you in gently...
and show you a project using JUST the Toscana paint
(we'll be offering classes on how to use all the Toscana products in March!)

Toscana is quite simple to use...if you've used any milk paint before, this is much the same
you mix with water 
(we LOVE that the container has enough room to add water, seal, and shake to mix!)
We prefer our paint a bit on the thick side, so we start with a 3/1 ration of paint to water
adjusting as needed

The piece we selected was solid wood, and we did NOTHING to the existing finish
(old stain and some sort of clear lacquer)
The biggest obstacle to success with milk paint is in selecting the proper piece...
this is NOT the paint we'd select for shiny finishes, laminate, etc

So anyway, we mixed it up, and applied in a very haphazard, sloppy manner
sort of squishing it in here and there instead of brushing it smooth


The finish you see took three coats
We love the variations of texture and color!


For even more patina, we used Amy's Antique Glaze
which is very thin and light
(translation: EASY and FORGIVING)
It really brought so much depth to the finish 
without dramatically altering the lovely, soft shade

Once dry, we sealed with our favorite Carnauba wax

Toscana is available in a lovely selection of colors and retails for $20/8oz


We are SO terribly excited to be travelling to Memphis, TN in a few weeks
to meet Amy Howard and the rest of her team

A bit about Amy Howard, in case you didn't already know!
Her company, Amy Howard Home, has been around for almost a quarter of a century
(they are most definitely NOT new to this!)

The paints we retail, and the finishes you can achieve with them,
are the very same that have been used on Amy's gorgeous reproduction pieces

For some inspiration, visit 
and of course Amy Howard at Home

Thanks for stopping by, and happy painting! 

Kenny and Michele

Saturday, January 18, 2014

If it's FREE, it's for ME

We've always thought it was a little strange
to pay hundreds of dollars to learn to use a paint product you just bought...

Of course, there is great value in learning tips and tricks
from someone with experience
but shouldn't the basics be available to anyone 
that wants to try the paint? 

We think so. 

So, in the spirit of paying it forward,
we're going to offer FREE classes each month

Now, don't get too excited...
(ok, you can get excited, it IS exciting!)
these will be BASIC classes...

Enough to give you a solid foundation 
and the courage to pick up a brush and dip into that paint
but we won't be sharing ALL our secrets


These classes will be fun and no-frills...
you won't go home with a cute apron 
we won't be feeding you breakfast or lunch
(just chocolate and coffee/tea/cocoa!)
and you'll need to bring your own SMALL item
(wooden candle sconces, a small shelf, a frame...you get the idea)
 we'll provide the paint, wax, etc


The idea is that we WANT you to try the paints we carry
we WANT you to be comfortable purchasing them,
because you've used them and have an idea how they perform
We've all spent hard-earned dollars trying new products,
only to have them gather dust because they didn't do what we wanted
or we couldn't figure out how to make them work well
(hello, dark wax!)


We only sell things we LOVE, so we know you'll LOVE them, too
once you try them!


We think it's a WIN/WIN

Our next FREE class is Saturday, Feb. 1 at 11am
Featuring Amy Howard Home One Step Paint
Wax, and Dust of Ages
Limited to 10 students
Registration required
stiltskinstudios@gmail.com

Hope to see YOU soon!

Kenny and Michele


Tuesday, December 31, 2013

The Painted Couch

I don't love the idea of painting upholstery.
I also don't love stained upholstery.
Or tufting. 
(doing it...I  DO love how it looks)

So, what's a girl to do? 

Adjust. 
(Paint or Embrace...those were the options!)


Initially, I simply lived with it
The sofa resided at our store, for relaxing

It's not for sale, so I wasn't terribly concerned about it
but it was starting to drive me NUTS
that it had water marks in random places
(we scored it for $20...the house it was in had a HUGE roof leak!)

I figured, what's the worst that can happen?
I could ruin the couch.
No biggie in this instance, right?

So I painted it...


I couldn't get behind painting the seat cushions, so those will have new covers made
(in grey denim!)
We'll add some grey denim throw pillows to tie it all together


I used Amy Howard Home One Step Paint in Atelier
(the PERFECT grey)


I did dilute the paint down by about 40% or so...
enough to make it spread on easily without running all over the place

It took less than one can to do the whole couch
(the back and sides are all upholstered)

The most time consuming part was those tufts...
I used a smaller brush to make sure the deep openings were covered
and I had to make sure I got paint under the folds, too...

The frame, of course, was super fast. 
I painted that first with undiluted paint

I left the sofa to dry for about two hours
(it might have been dry sooner but I didn't check)

At this point, it felt a bit like you'd expect painted fabric to feel
sort of rough and not really pliable

Here is where I was REALLY nervous!
I applied carnauba wax (clear)
with a clean rag

I did so LIGHTLY and really buffed it in

After about 20 minutes, I went back and BUFFED the entire sofa
(frame and all)
with a buffing brush and HOLY COW what a difference!

Now, it is similar to a thick canvas or oilcloth
Not exactly the velvet I was hoping for,
but for less than $30 and a few hours of my time,
I'm really happy w the results

I sat in it today and it's perfectly comfortable...
and I did NOT end up with wax or paint on my clothes

Overall, I would not say I prefer this to proper re-upholstering...
but in a pinch (or on a tight budget!)
this was a really great solution! 

Thanks for dropping by!

Michele


Saturday, December 21, 2013

High Performance Lacquer Spray 101

We LOVE the look of Lacquered finishes...
but they can be tricky

Kenny enjoys using his spray gun with enamel paint,
but me? Not so much

It's the "cleaning" part that gets me...
I am not a strong "cleaner-upper"
which is REALLY bad with a spray gun and oil based paint!

I've tried using Rustoleum's lacquer spray with mediocre results
I'd never attempt it with a large piece...
the nozzle doesn't offer a large enough fan of spray
and there always seems to be TONS of overspray

Up until now, I've stuck with hand painting using high gloss enamel paint

24hrs between coats, and the last dresser
 I did took EIGHT coats of paint
EIGHT!!!!

Enter Amy Howard Home's High Performance Lacquer Spray...


I started out small, doing shelves, mirrors, candle sconces, etc


Feeling pretty confident, I tackled a larger mirror


It turned out textbook perfect...so I felt REALLY brave and decided to tackle a dresser!
Here's the thing...spray paint works great on smaller projects,
 or projects without many large, flat surfaces

Tackling dresser tops, sides, drawer faces...that requires a certain degree of skill
(skill I did NOT think I possessed, by the way!)

Spray paint can be streaky, uneven, and of course, there is the dreaded over-spray
that comes from moving too fast, too slow, being too close, being too far away
spraying too heavy, spraying too lightly...you see what I mean?

It's a delicate balance!

I had every belief that I would be repainting this dresser when my spray painting
went horribly awry...
but it didn't go awry at all!


OH, happy day!

Thrilled with the results, I tackled a desk
(ok, after I sprayed a gazillion smalls!)


I feel like my technique has gotten better with every project, 
although I do still have some trepidation
with that first pass!

Kenny has given me some GREAT tips that have helped so much...
so I'll share with you what I've learned

BEFORE YOU BEGIN, SHAKE YOUR CAN
NOW, SHAKE IT SOME MORE
AND A BIT MORE...
OK, NOW YOU'RE READY!

1. Choose your subject well- the piece needs to be in GREAT shape, or you need to repair any loose paint, chips, dings, dents, etc...lacquer magnifies every single flaw and unlike a distressed finish, the flaws don't add to the charm!

2. De-grease the surface- I prefer to use Simple Green.  Make sure whatever you use does't leave any residue behind, and ensure that it is COMPLETELY dry before you begin spraying

3. ONLY spray in a well-ventilated area- Lacquer smells like, well, lacquer. Spraying a big piece or many pieces at once? Wear a respirator.

4. Protect the things around you- there will be some over-spray (much less than with other brands we've used). Cover up things you don't want to have to dust off later. 

5. Read the instructions- hold the can 4-6" away from your project (yep, it's right there on the can!)

6. Start spraying OFF your project- begin spraying a bit off the project (into the air, basically), moving onto your piece. Finish spraying OFF your project (again, into the air). This prevents build-up at the start and end areas

7. Move your arm in a straight line...pretend you have a robotic arm.  Don't arc (you're not making a rainbow!) and keep your arm steady

8. Overlap- don't leave unpainted gaps. If you see a gap between your rows, fill it in now, not later. Going back later can lead to a streaky finish 

9. Maintain a steady, moderate speed- too fast and you'll have over-spray (sandy paint), too slow and you'll have drips...just go nice and even. Practice on cardboard first

10. TA-DA..stand back and admire your awesomeness!

A few other things worth noting:

Did I mention to shake your paint?? 

If you get a drip, LEAVE IT ALONE! Don't try to fix it while wet.  You'll just make a mess.  When it's dry, gently sand it out and re-spray that area. The WHOLE area, not just the little drip area.

This seems like a no-brainer, but let each coat dry before applying the next. Think of it like nail polish...if you keep globbing on more polish, it never dries right, chips, and wastes a bunch of polish.  Same thing with lacquer.  

Thinner is better.  Not so thin it's streaky...but going too heavy will lead to drips, streaks, and problems with drying

One last thing...if you have NEVER sprayed before, or have sprayed but haven't had much luck, don't try to tackle a dresser, or desk, or table right away...bang out a few smaller items first to hone your technique.  You'll be glad to have the added experience, plus BONUS, you will have cool accessories lacquered to match! 

Have fun and happy (spray) painting,

M~

Thursday, December 12, 2013

Hollywood Regency Glamour

We have had this dresser set listed as a custom for a few weeks...
it was living dangerously!

Since we are head over heels in LOVE with One Step Paint in Black,
we jumped right in with these pieces

Here is the before
(this before makes it look WAY better than reality!)


While cleaning this dresser and removing the drawers,
we discovered it was made in Sweden...a first for us!

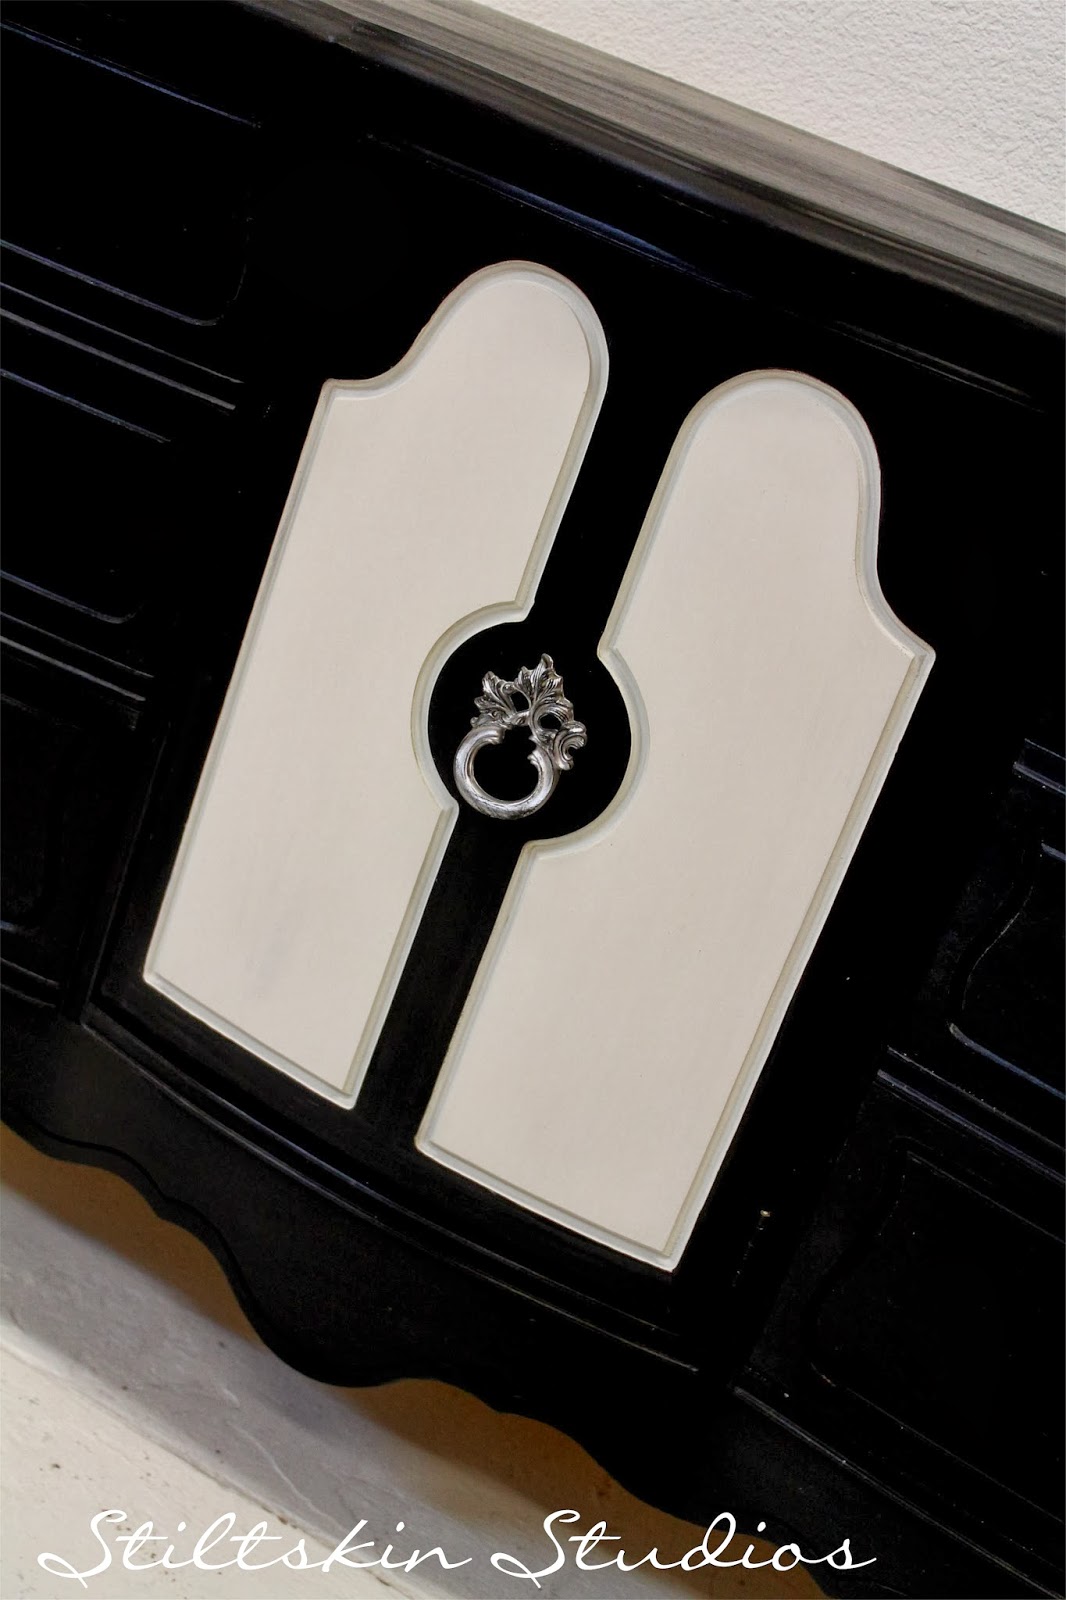
The entire body was covered in Black One Step Paint
with only the center panels contrasting in white

 (mirror obviously isn't shown...it's black and it's gorgeous!)


The hardware features silver leaf with a touch of black


Behind the door, three lingerie drawers are clean and simple

(the areas that look mottled are really shiny from the wax...hard to capture on camera)


On top, we wanted a "little something"
that would add to the graphic impact
without being too fussy


The nightstand we opted to keep very simple and classic


We're really pleased with how this set turned out...
Simple and classic, yet it has great impact

If you haven't tried One Step Paint from Amy Howard Home yet,
what are you waiting for?  
Go for it! 

Kenny and Michele

Monday, December 2, 2013

Gilded, Grey, and Gorgeous!

It's no secret we're big fans of grey, cream, and gold...
I mean, can you blame us?
We used One Step Paint from Amy Howard at Home
to achieve this gorgeousness


Of course, this beauty started out pretty good!
Not bad, right?
Great "bones", wonderful details...horrible color!

We took this tallboy on a trip to France

 The original hardware was stunning, even more so with some gold leaf 

 Creamy Bauhaus Buff brings out the inset panels, trimmed in more gold leaf

 That perfect Grey?  Atelier. We love it, too. 


This piece was a custom order for a lucky local client...
we hope he adores it as much as we do!