Showing posts with label amy howard home. Show all posts

Tuesday, August 19, 2014

Quick Tour...

Stopped by 607 Vintage MarketPlace today
to drop off a few items
(and to see what goodies everyone else brought in!)

Thursday is THE DAY...!
(unless, of course, Largo doesn't cooperate!)

I thought I'd share a few more preview photos...


 Used Modern Masters on this charming little coffee table


LOVE doing these mirrors...
Lacquer on the frame, Antique Mirror Solution to distress the glass...
the mix of glossy, shiny, and distressed/aged is perfect, don't you think?


The detail on the mirrors is just stunning...but hard to capture in a photo!

  Pretty, shiny things...


 lots and lots of pretty, shiny things!

Thursday, July 31, 2014

Knock Knock

Knock Knock...
Who's there?  

TICK TOCK!


Tick Tock One Step Paint, that is!

Our front door was desperately in need of some assistance...
a perky pick-me-up
(and a good pressure washing!)

Before was such a snooze-fest...
zero personality...
this is the color it's been since we moved in...and I've hated it every day since
but you know how it goes...you get so used to looking at it,
you don't even notice it anymore


Now it looks refreshed and playful

I realize vibrant aqua isn't for everyone...
we live on the coast of FL...
land of sun and surf, palm trees and hibiscus
An aqua door isn't the least bit out of place!

Here are the steps:
1. clean the door- I pressure washed about a month ago, then cleaned the door with soap and water before painting. Pressure washing isn't necessary.

2. Paint with chosen color of One Step Paint from Amy Howard at Home
We selected Tick Tock after much debate...the lighter color over the somewhat darker oil-based paint took three coats

3. Seal- I used Clear Wax, applied sparingly, and buffed once dry.  You could also seal with poly, but we've found the AHaH wax is durable enough to use on our front door.  

4. Decorate your new front door
 (then lament as you realize now your house REALLY needs painted!)

Isn't it funny how one project leads to five, ten, TWENTY more?

I'm already looking at paint colors for the house and garage...
and the weather stripping around the door needs replaced...
and the landscaping could use some refreshing...
and the fence is looking pretty shabby....

Thanks for dropping by!

Michele

Tuesday, July 22, 2014

Put Down the Sandpaper

this is a plea....
a plea to put DOWN the orbital sander, the palm sander, 
and GASP, the belt sander!

I'm guilty of it...we all are
even if you haven't done it, you've seen it:
swirl marks, "bite marks",
 areas where the sander has burned right through the paint and the original surface,
 revealing the raw wood

The more I learn about authentic painted finishes...
the more I studied actual wear on antique pieces...
the less I reach for a mechanical sander

Distressed finishes are GORGEOUS!

 even after 100+ years, you still don't see much wear down to the wood...

 More wood showing, but it is a soft, natural effect...
thousands of fingertips brushing the edges, gently polishing the surface below the paint...
it's not rough
Water-marks, a little dirty around the edges...gently worn paint

 Notice these authentic finishes have an antique tint, 
but the color isn't covered in a layer of dark wax...
save the dark wax for the areas that would naturally get a bit dirtier...
the edges, the feet, etc

 Stunning finish...layers of paint, no discernible pattern to the wear
this could have been created yesterday or 150 years ago...

 worn, layered...subtle wear to the wood below
 I'm personally drawn to these chippy, layered, textural finishes


These finishes are not your standard 
"chalk paint, distress, clear wax, dark wax" 
that we're all accustomed to

There is a whole world of options for aging your pieces...

and none of them involve a belt sander :0) 

Tutorials coming later this week...

M~

Wednesday, May 14, 2014

Sometimes, Less is More

So...this bed

So many options!

I struggled for weeks over what color/finish it "needed"

I finally settled on Luxe Grey from Amy Howard at Home
highlighted with white and some gold leaf

In theory, it worked

In reality, it was a lot of "look"
 if you know what I mean

The bed just didn't need it!

I switched gears, keeping the Luxe Grey
but highlighting with only Dust of Ages


So. Many. Details.

This bed took me WEEKS
(primarily because I could NOT work on it continuously...had to break it up!)

In retrospect, it's totally worth it
(well, it WILL be worth it when it sells!)


I had BIG plans to stage this bed...
a queen sized air mattress, pretty ruffled bedding, lots of pillows

HOWEVER,
I had a BIT of trouble setting it up alone!


So for now, it's staged just like you see it in the above photo...propped against the wall!

This gorgeous tallboy seemed like an ideal companion for the bed


It's just a "little" fancy...so it doesn't compete 
with the Baroque fabulousness of the bed


I wanted the hardware to look like antique, tarnished silver...


I'm really quite pleased with how it all came together...
proof that sometimes, 
less really is more 

Thanks for stopping by!

Michele

Friday, April 18, 2014

She's got Legs...and they are Orchid

We've been SO busy lately!

For starters, I have new colors I have NOT even opened!
I know! I can hardly believe it, either...

I took a bit of a breather the past two days,
focusing not on custom orders or clients, but on a few things I wanted to work on
just for the sake of doing it

The beauty of spring rarely strays far from my thoughts, however
and its lush beauty certainly influenced my color choice


This little cocktail table started out pretty great


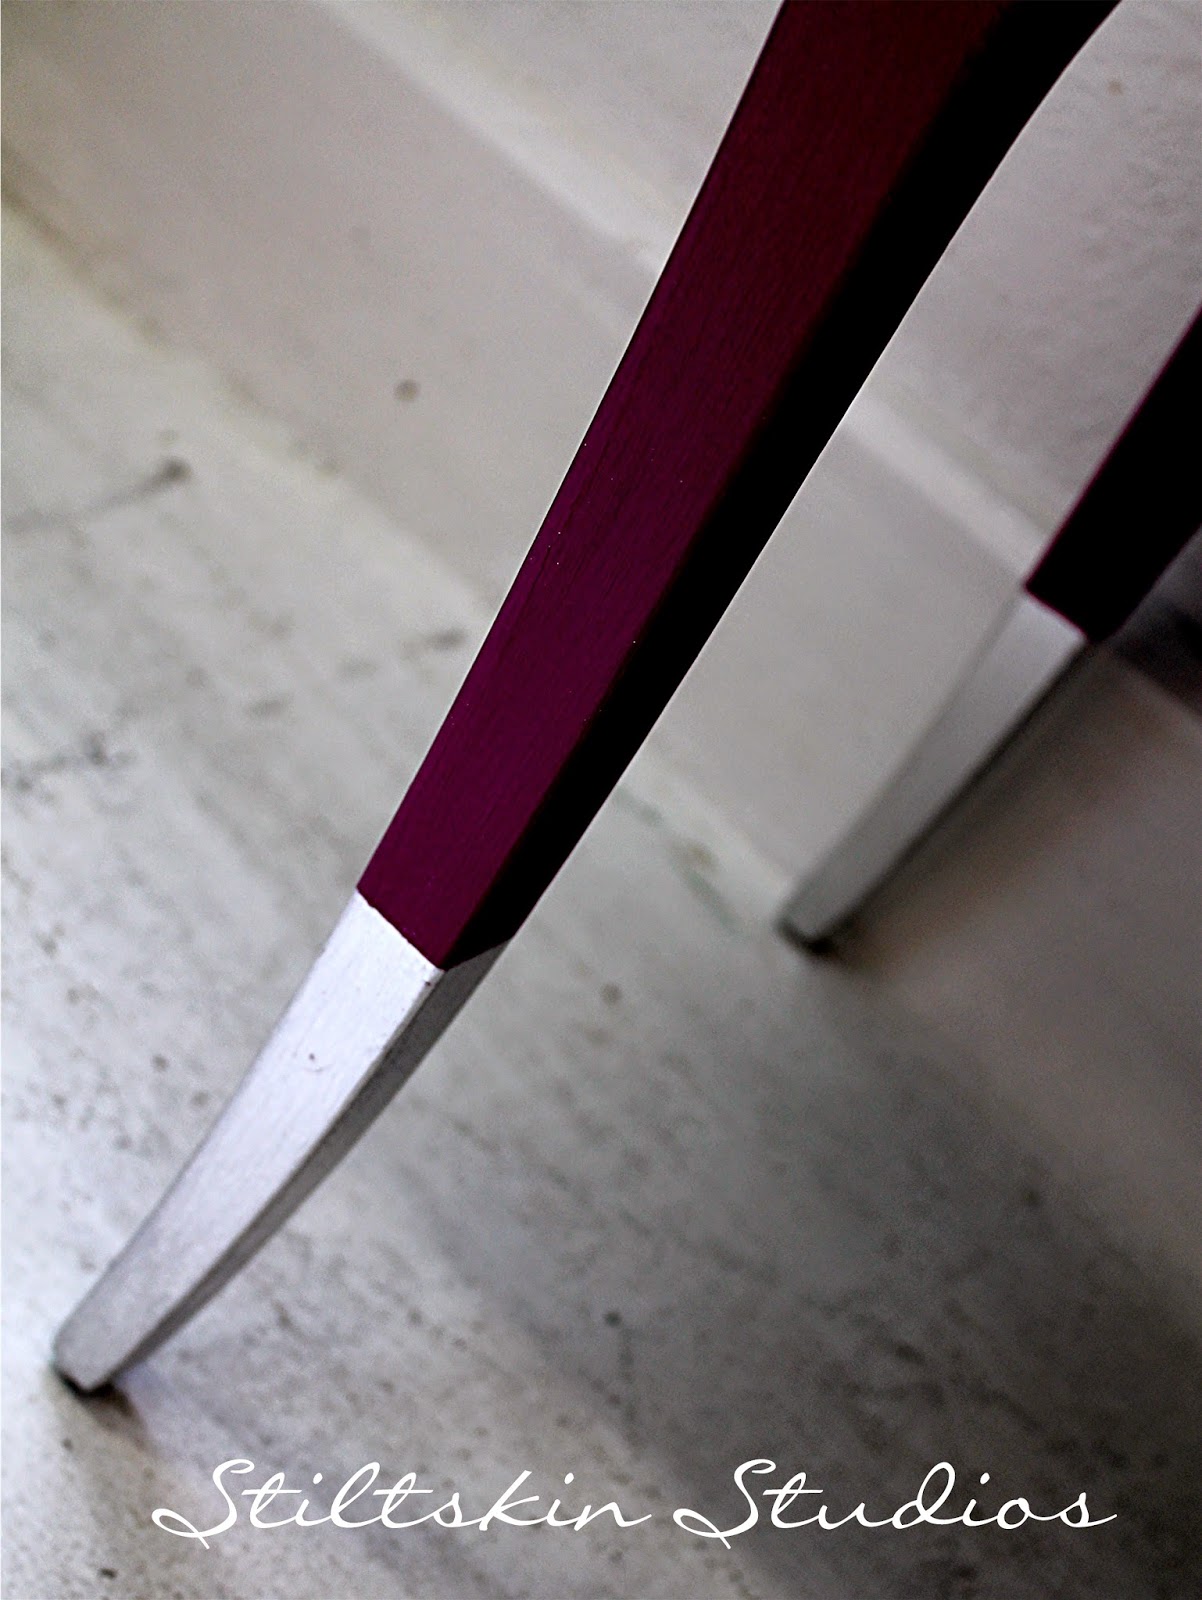
How much do you LOVE those long, curvy legs?

It seemed the perfect candidate for 
Amy Howard Home's newest One Step Paint color, ORCHID


This was a really quick project...but I love the finished product
clean lines, simple finish, spectacular color


Here's the finished piece


I wanted to draw attention to those killer legs,
so I applied Amy Howard's Silver Leaf
(no Bole, just Size and Leaf)


Working on this piece today was a great way to quiet my mind
and just focus on creativity and beauty

How about you?  
Is painting simply a means to an end for you, or is it your "me time"? 

I also dipped my brush into one of the new Real Milk Paint colors,
MINTY FRESH


but that's another post!


Thursday, January 30, 2014

Toscana Powder Paint

It's no secret that we LOVE to get our hands dirty
with new products...
particularly when the products AMAZE US

We've been consistently thrilled and impressed by 
Amy Howard Home's product lines
(and the bar was set PRETTY high...we don't impress easily!)

One Step wowed us
then, the Lacquer Sprays...
so of course, we could NOT wait
to get our hands on Amy's Casein (milk) Paint...Toscana!


Amy's artisans create INCREDIBLE finishes using this paint, along with some ancillary products

(photo courtesy of Amy Howard Home)

We figured we'd break you in gently...
and show you a project using JUST the Toscana paint
(we'll be offering classes on how to use all the Toscana products in March!)

Toscana is quite simple to use...if you've used any milk paint before, this is much the same
you mix with water 
(we LOVE that the container has enough room to add water, seal, and shake to mix!)
We prefer our paint a bit on the thick side, so we start with a 3/1 ration of paint to water
adjusting as needed

The piece we selected was solid wood, and we did NOTHING to the existing finish
(old stain and some sort of clear lacquer)
The biggest obstacle to success with milk paint is in selecting the proper piece...
this is NOT the paint we'd select for shiny finishes, laminate, etc

So anyway, we mixed it up, and applied in a very haphazard, sloppy manner
sort of squishing it in here and there instead of brushing it smooth


The finish you see took three coats
We love the variations of texture and color!


For even more patina, we used Amy's Antique Glaze
which is very thin and light
(translation: EASY and FORGIVING)
It really brought so much depth to the finish 
without dramatically altering the lovely, soft shade

Once dry, we sealed with our favorite Carnauba wax

Toscana is available in a lovely selection of colors and retails for $20/8oz


We are SO terribly excited to be travelling to Memphis, TN in a few weeks
to meet Amy Howard and the rest of her team

A bit about Amy Howard, in case you didn't already know!
Her company, Amy Howard Home, has been around for almost a quarter of a century
(they are most definitely NOT new to this!)

The paints we retail, and the finishes you can achieve with them,
are the very same that have been used on Amy's gorgeous reproduction pieces

For some inspiration, visit 
and of course Amy Howard at Home

Thanks for stopping by, and happy painting! 

Kenny and Michele