Friday, September 14, 2012

all in a day's work

As I watched my husband
meticulously cleaning out
the inside of each new piece today,
I was impressed...
 
Which got me to thinking...
I wonder if people realize how much work
goes in to each of our pieces
before we even pick up a paint brush
 
I mean, I know people realize
that it takes time to go find it,
pick it up,
and lug it back to the studio...
but then what happens? 
 
With the influx of
"no prep-no prime" paint,
you'd think we just drag the piece out
and commence to painting, right?

Yeah, I wish!
These pieces are rarely in good enough condition as-is...
so we remove each drawer, scrub it down, disinfect each one
then re-stain them before waxing the rails so they open and close smoothly
and smell clean and fresh

 (before...yuck!)

 (during)

(ahhh....after!)

Clean drawers seem like a "no-brainer"
but how many times have you gone in to a shop
and eyed a super cute dresser
only to find sticky drawers that won't open?
And when they finally do open? 
Yuck! 
Gunk, funk, and paint drips...
 
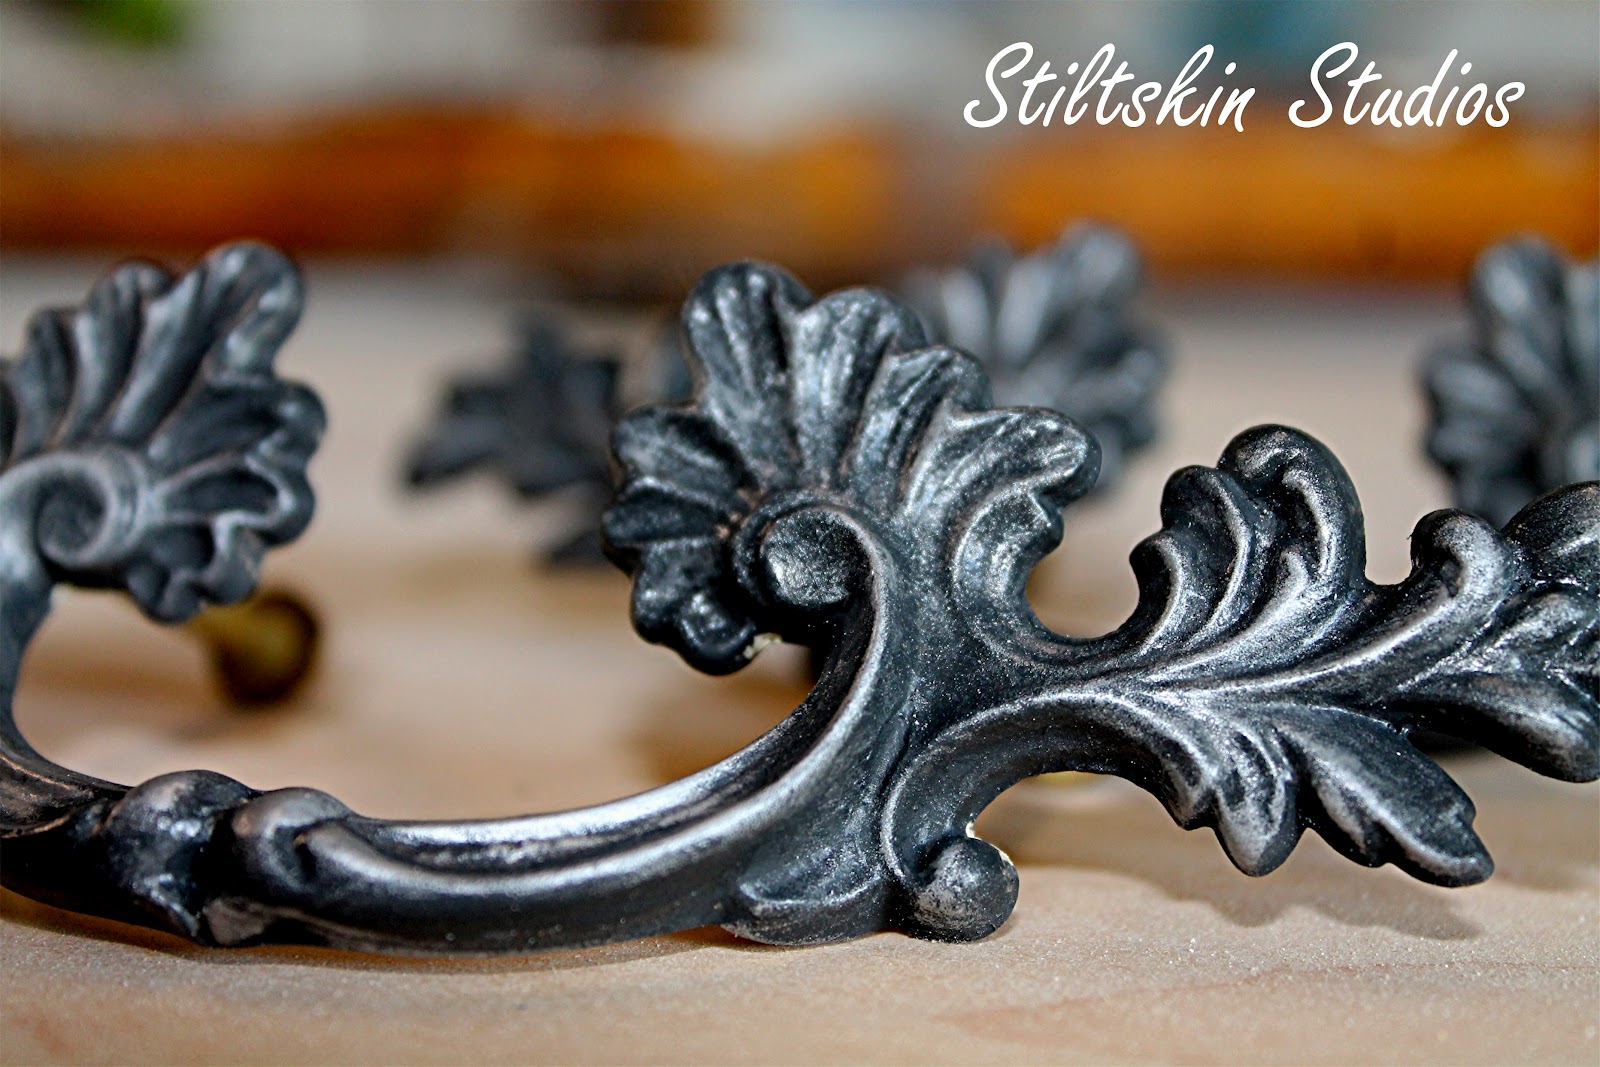
All the hardware gets a soapy bath, too


Once the drawers are clean,
we scrub out the "guts"...
yes, I realize probably no one will ever see inside the dresser
but who knows what resided in there prior?
We also wax the rails inside the dresser
(you'll NEVER get sticky drawers from us...never never never!)
 
At this point, we scrub down the exterior with our secret weapon
(which I will not be sharing at this time, sorry!)
before making any repairs to the body
 
Repairs can be tricky...
we don't want to remove too much character
from the piece
but we don't want it falling apart, either! 

So once ALL this is done...
finally, we can paint! 
 
 
And that, my friend, is another post all together!


Monday, September 10, 2012

Gustavian Collection Pantry Hutch

 We've been drawn to Swedish and Country French antiques lately...
the neutrals that are soothing and beautiful
the weathered, aged paint...
yeah, it's pretty much all good! 

The paint on this piece was inspired by the antiques that 
we'd love to have in our own home
This piece took much longer than I anticipated...
funny how that goes, isn't it?


We opted for Pure White
which contains no pigment
(cause, you know, it's WHITE...)
which meant three coats


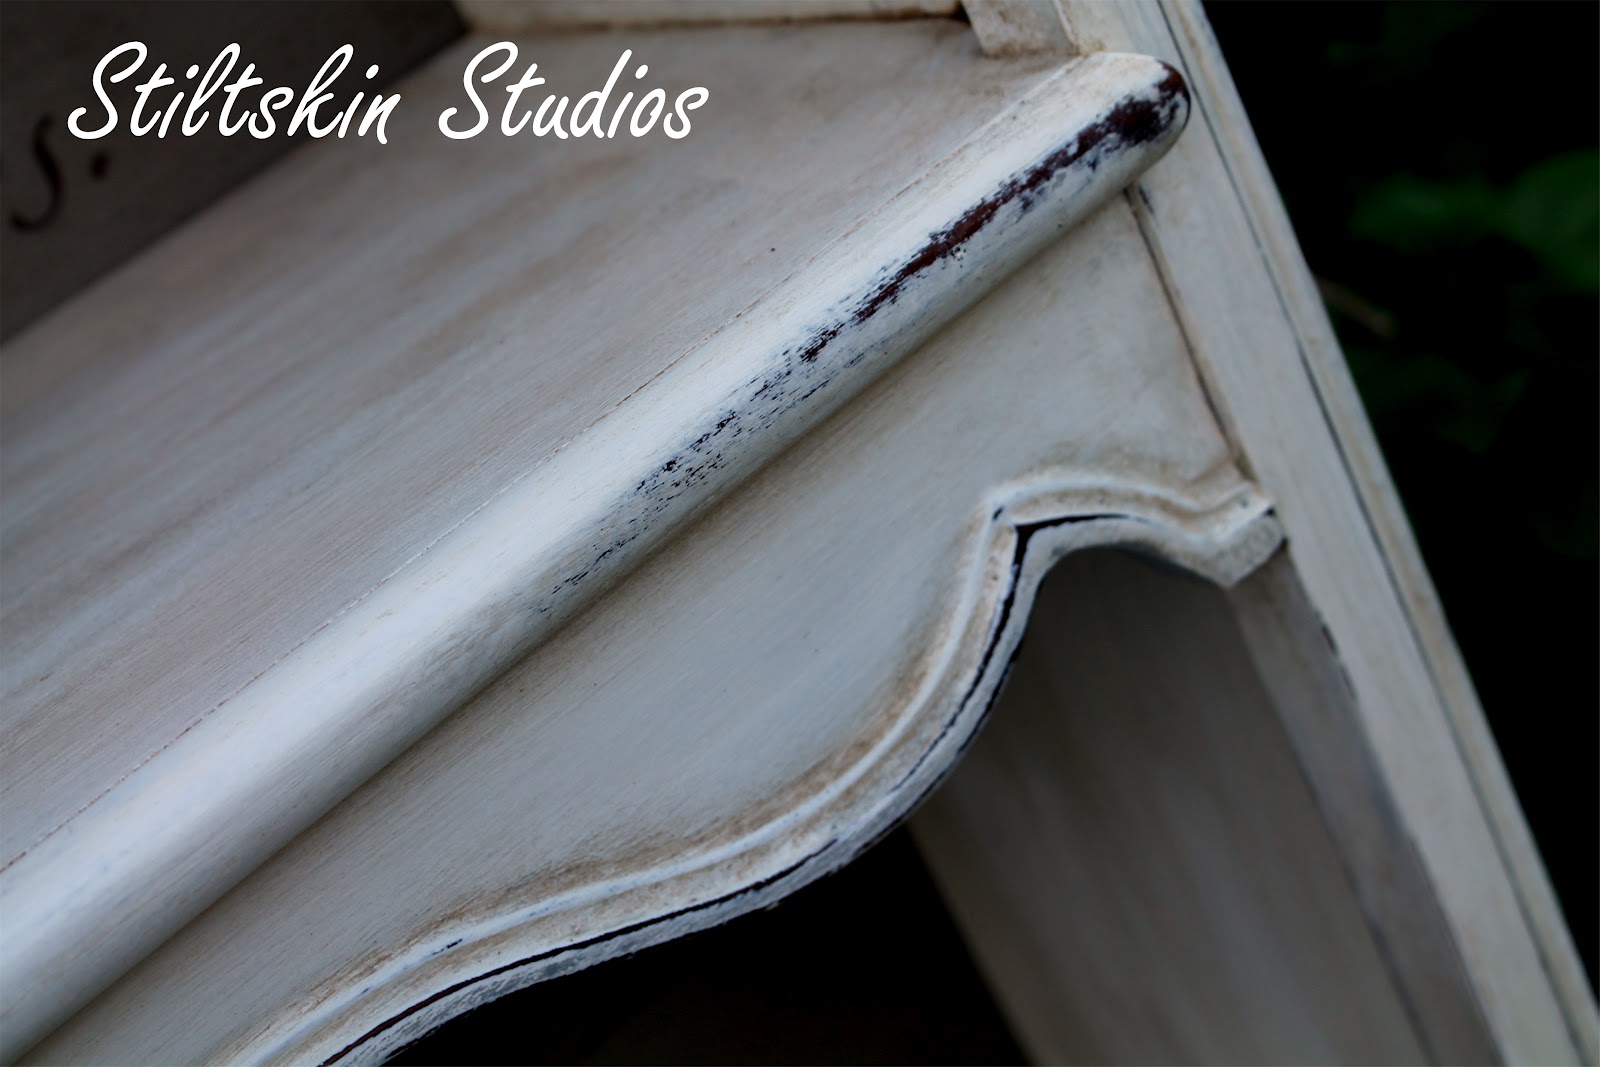
Then, we clear waxed the whole thing
before using two different colored waxes
for an old-world look


After waxing and distressing the entire piece,
we decided to stencil a gorgeous French poem
on the back-board...
I wanted white words on Paris Grey
I used a stencil cream I purchased at the craft store...
and it seemed to work great...
UNTIL....
I applied clear wax!
Bye Bye white stenciled poem!
Moral of the story?
Only use stencil creme from Royal Design Studio!
(which is also where the stencil came from)
Did I mention I also painted the words upside-down?
It normally would not have mattered, 
however, 
this board is attached not only on the perimeter,
but also along each shelf
so the holes from the nails didn't line up
AT ALL

SOOOO....
We clearly had to repaint!

We changed to French Linen
then applied a dark wax glaze
As you can see, it worked out wonderfully!


This is such an unusual piece...
we love the fact that it's not huge,
but still tall and offers lots of storage
not to mention visual impact!

This piece is available in our Etsy Shop

Thursday, September 6, 2012

BoHo Cherry Blossoms

When we brought this dresser home,
it was white with plastic butterfly knobs
cute, but definitely NOT our thing!

 Gorgeous Florence
with a bit of dark wax to
 enrich and deepen the color

 Sometimes, we're content to leave well-enough alone...
but in this case, we knew we wanted MORE


  We sure do love color!
Metallic bronze, hot pink, magenta, pale pink...gorgeous!
 and in case the color wasn't QUITE enough..

 we added a bit of bling....
because, really, why not? 
I love that the bronze matches the
bronze on the branches
and the shape of the knobs mimics
the cherry blossoms

We actually had this piece slated for another
stencil project...
but this worked out so much better!

This item, and quite a few others
are for sale in our Etsy shop


Wednesday, September 5, 2012

Scarlet Begonias

This dresser is solid wood,
made by Ethan Allen
but not quite as curvy
as we usually like...
it said
"Country French" 
in our minds
(it also said "1980's Golden Pine")

We opted to just "go with it"
and make it not-so-fancy


 It's got such lovely carved details...
they're chunky, though, not delicate


 We decided Milk Paint was the perfect choice
but we wanted a bold color...
we used Real Milk Paint products
(white and bright red)
We knew we wanted to dark wax this piece
so we mixed up a slightly lighter
shade of pink
(try to keep in mind how your finishing products will
 affect your color when painting your own pieces)

 Three coats gave the depth we wanted
followed by lots of distressing...

 We stripped the top and refinished it to match the drawers
(it was in terrible condition!)


 and these tri-fold mirrors...
so loving them lately!
They make an already fabulous dresser so grand!

We finished this project with Myland's Wax in Clear
and Annie Sloan Wax in dark

It's totally BoHo Chic, don't you think?

you can find this item for sale in our Etsy shop

Thursday, August 30, 2012

Stencil 101

We don't do too many tutorials...
but sometimes, we get so many questions about the same topic
we decide to tackle it...

 "What's the best way to stencil?"
Is one of those questions!

But, alas, you see...
we're no experts on stenciling!

Do you know who is?
The folks at 

Regina, who works with RDS
(you might know her from Fauxology)
was gracious enough to offer us an impromptu class,
sharing Melanie's techniques and tips
so our tutorial would be full of great info!

So here goes:

 Step one:
Start with the proper tools!
(We can't emphasize enough
what a difference these tools made!)
both from 


 I like to use adhesive spray, but
Frog Tape works great, too!

Apply a LIGHT spray of adhesive
before placing your stencil

 For this project,
we chose
(we have an actual furniture project planned for this stencil,
this was our trial run...!)

 You'll want to have a rag or paper towel handy...

 barely dip your brush into the stencil creme or paint
(or just use the lid...you don't need much!)

Now swirl your brush onto your rag
to remove the excess paint

 (excuse my wax-stained hand!)
Your brush might seem like there is nothing on it...
but as illustrated here,
it's plenty!

 Once your brush is ready,
you'll want to apply the creme in a swirling motion
like little circles with your brush
(A great tip we learned?
Start your swirl outside the area to be filled in
so any extra bits get worked out
before the paint touches the open stencil area)

 For the stem, we used Stencil Creme,
but for the blossoms, we wanted
soft pinks...so we used Annie Sloan Chalk Paint
(did you know Royal Design Studio is a Chalk Paint Stockist?)

 We hoped to demonstrate what happens when you 
use too much paint, and just brush it on instead of swirling...
see all that bleed through?
(also note, the Stencil Creme still looks perfect,
even though we attempted to do that wrong, too...
not sure you CAN do it wrong with these cremes!)

 For the second branch, we did as instructed,
barely filling our brush
before blotting off the excess

 The Cherry Blossom Stencil comes with a variety
of stencil sheets, so you can create your own pattern...
we simply waited for the first to dry
(the cremes dry almost instantly, and ASCP is nearly that quick, too!)
then placed the next one...
LOVE that we can create our own unique pattern
based on the piece being stenciled! 

 Clearly, following the directions is the way to go,
because THIS branch appears almost airbrushed,
it's so crisp and lovely...
this is with NO touch-up!
Gorgeous, right?

(Be sure to remove your stencil before the paint is completely dry...)

 Even though this was just a sample board
(plywood, no less!)
we wanted to finish it off properly,
after distressing
Notice the wax did NOT remove
 the metallic Stencil Creme...
which is unusual, 
and AWESOME!
We've used lots of other metallic products,
like gilding wax and Rub-n-Buff
but you can't wax over them
which can be a bummer

The final step to insuring your next project is perfect?
Clean your brushes right away, 
and clean your stencil right away, too!

The Stencil Cremes are formulated for easy clean-up
We simply placed the stencils on a flat surface and gently 
sponged off the paint
If you're not using Stencil Cremes
or you are a total slacker and don't wash them right away,
try Simple Green...works great!

 Once they are dry, we'll store these on our stencil wall
with tiny nails...
I know, you don't have a stencil wall...
No worries!
Just be sure to store them flat

This was a really fun project
and it's tremendous how much
easier it was to do
and how much better
it turned out
with a little instruction
and the proper tools and products! 
We're really looking forward to tackling the bigger project
with this stencil...

...and you KNOW
we will be ordering EVERY COLOR
in the Stencil Cremes!